

When severe weather hits—hail, high winds, or hurricanes—homeowners start looking for help immediately. Roofers, siding specialists, and restoration companies who can reach them first are the ones who win the jobs.
The challenge? By the time you’ve pulled a list, designed a mailer, and sent it, competitors are already in the neighborhood.
That’s where Storm Automation from LettrLabs changes the game. It gives home services companies the ability to pre-set criteria, trigger campaigns automatically, and—thanks to new approval workflows—decide which storms to target in real time. The result is speed, control, and precision that helps you book more jobs right when demand is highest.
Who Storm Automation Is For
Storm Automation is designed for:
- Roofers and exterior contractors who need to respond fast after hail or wind storms.
- Restoration companies handling water, fire, or storm damage.
- Siding, gutter, and window services looking to capture neighborhood demand.
- Existing LettrLabs users curious about automation features.
- Businesses evaluating storm-response strategies who want to see what’s possible with automation.
Why Storm Automation Works
Storm Automation turns unpredictable weather into predictable pipeline by combining:
- Speed → Campaigns can be ready the same day a storm hits.
- Precision → Target only the areas and property types you want (hail size, wind speed, homeowner focus).
- Control → No mail goes out until you approve it.
- Automation → Once set up, the process runs in the background—no more scrambling to pull lists after every storm.
This means you can consistently be the first company homeowners hear from when they need help most.
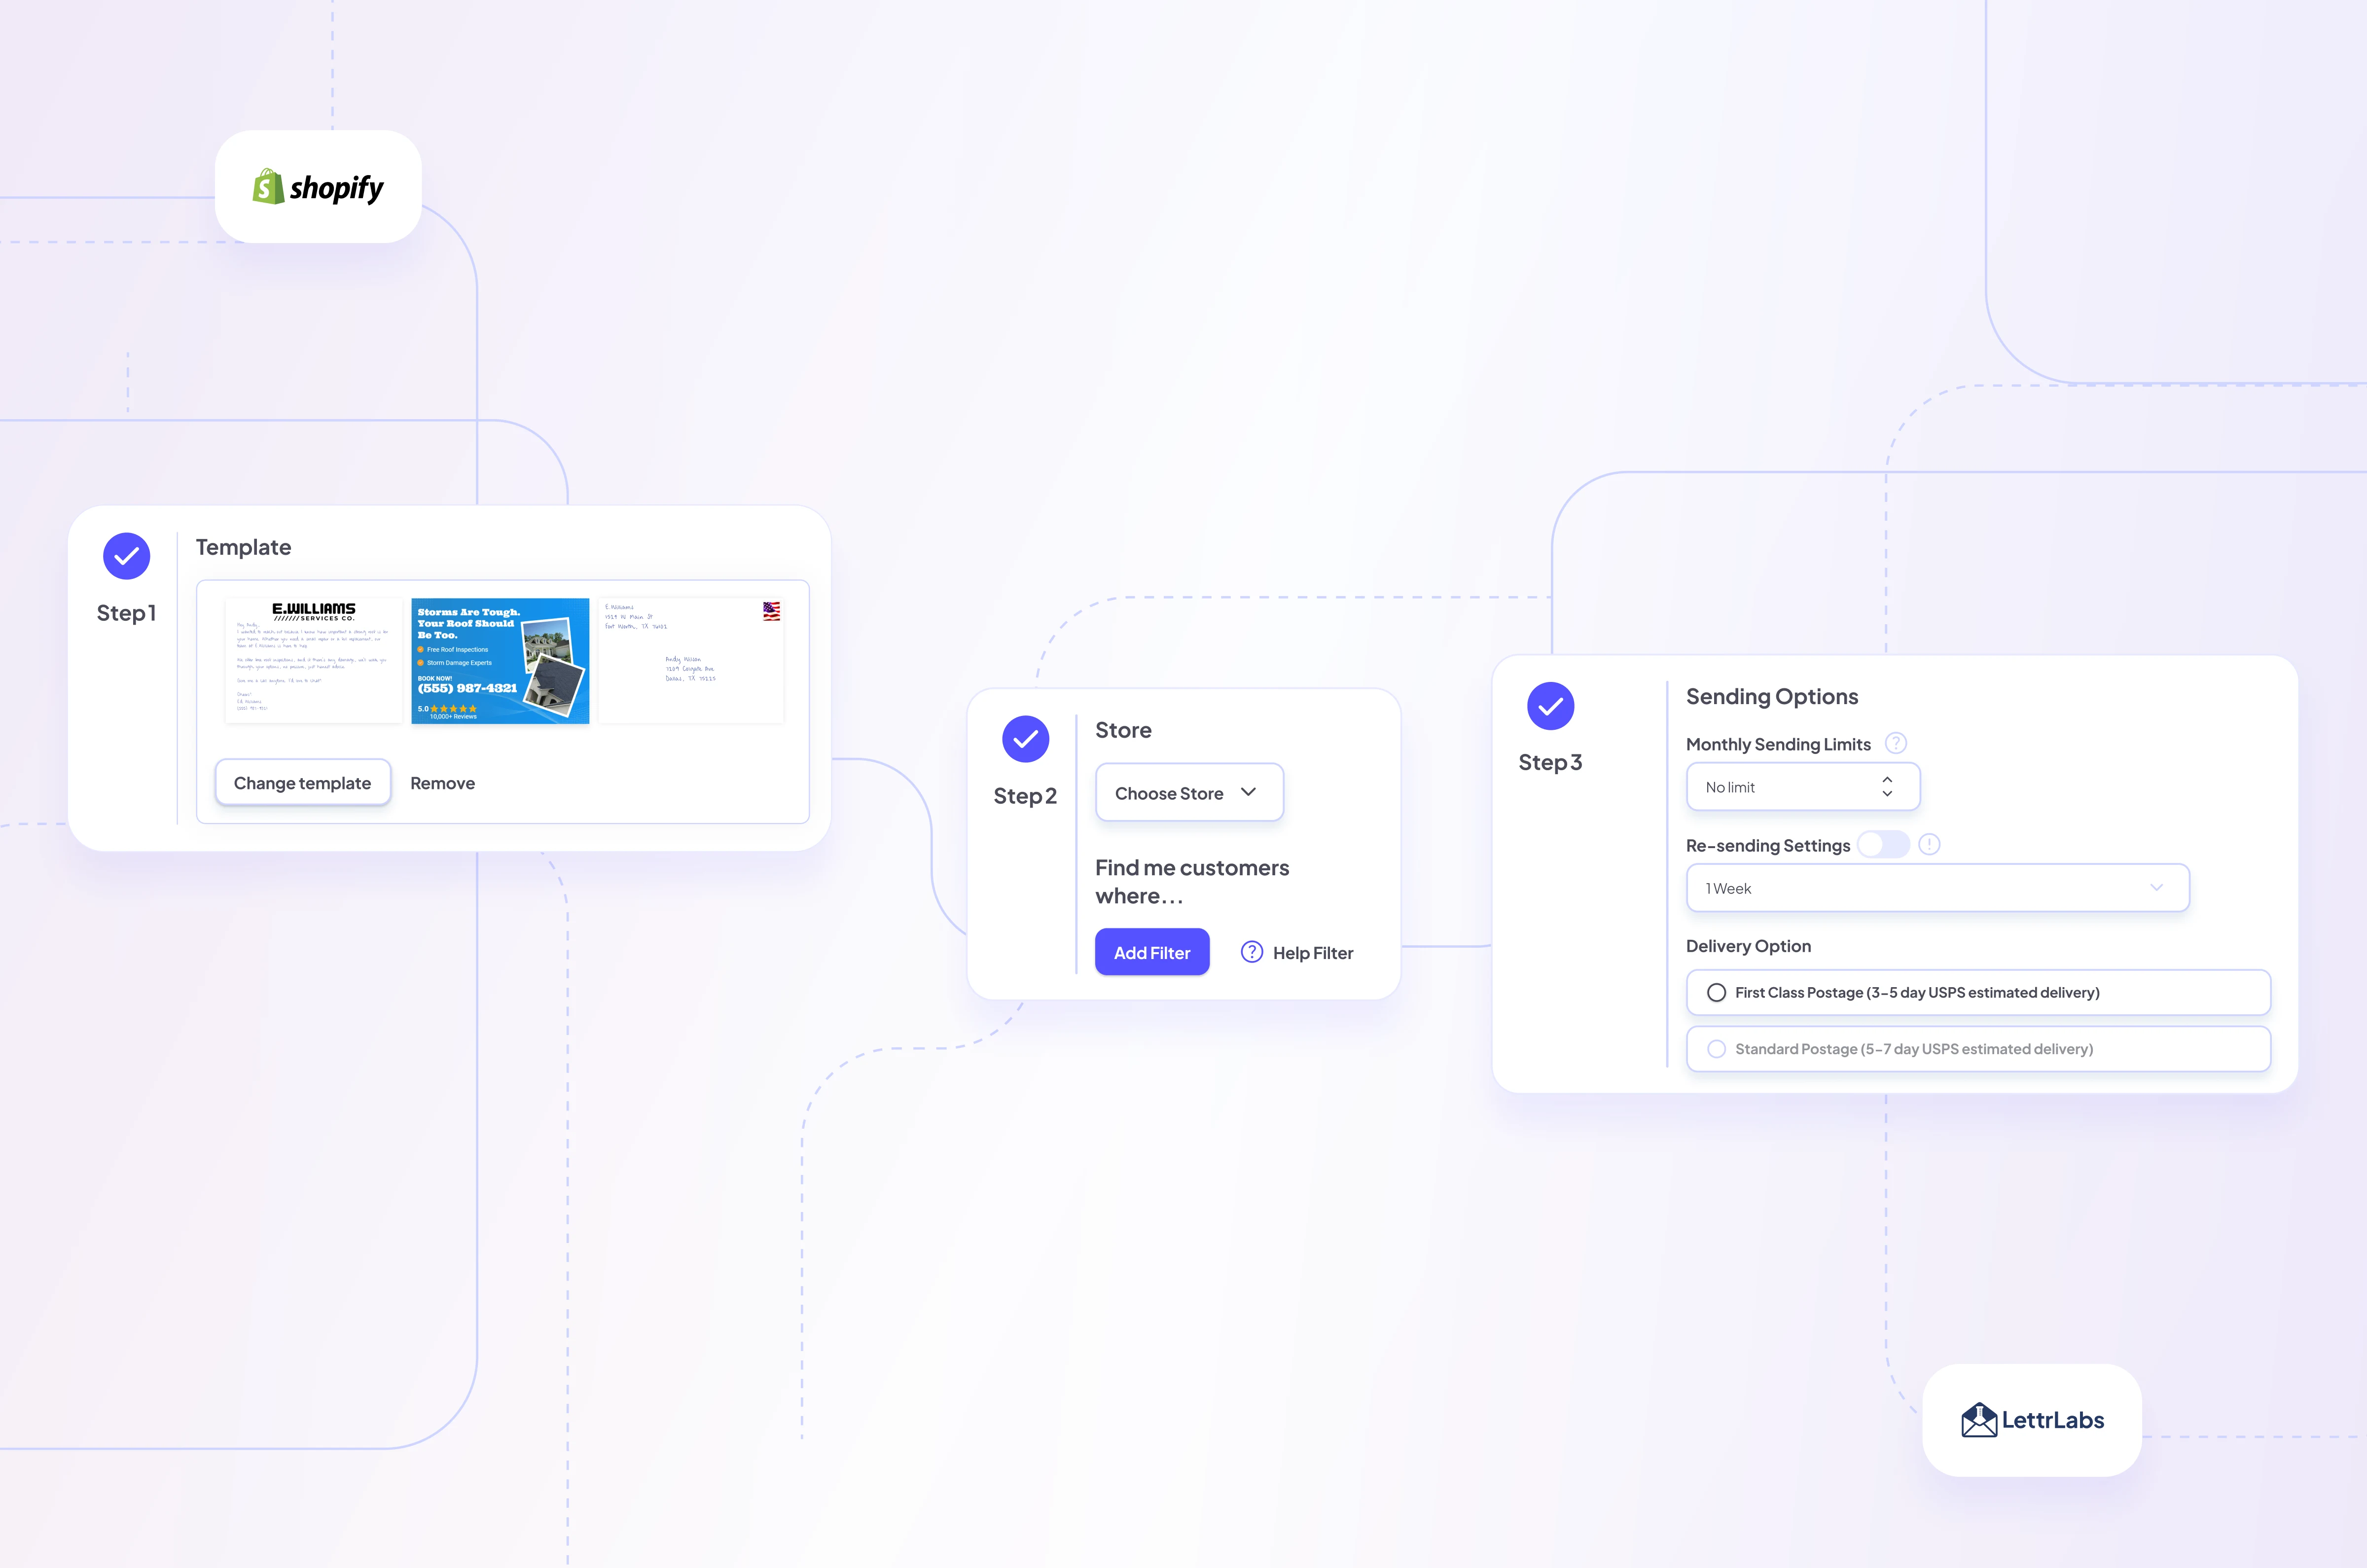
How Storm Automation Works
- You set your service area: name the automation and draw a radius or polygon.
- You choose a mailer template (handwritten or printed).
- You set the storm criteria and basic audience filters.
- You review alerts when a matching storm occurs and approve or skip.
- We print and mail fast via USPS First Class, and you track delivery and results in your dashboard.
Step-by-Step: Setting Up Storm Automation
By the end of this quick guide, you will know exactly how to create a Storm Automation that targets storm-affected homes in your service area with the right volume, timing, and controls.
🚀 Getting Started
From your LettrLabs dashboard, click Automations in the left menu.
Select New Automation, then choose Storm Automation.
.webp)
Once inside the Storm Automation builder, follow these steps. ⬇️
Step 1: Name the Automation and Establish Service Area
- Automation Name: Give it a clear label (for example, “Storm Season 2025 – Houston”).
.webp)
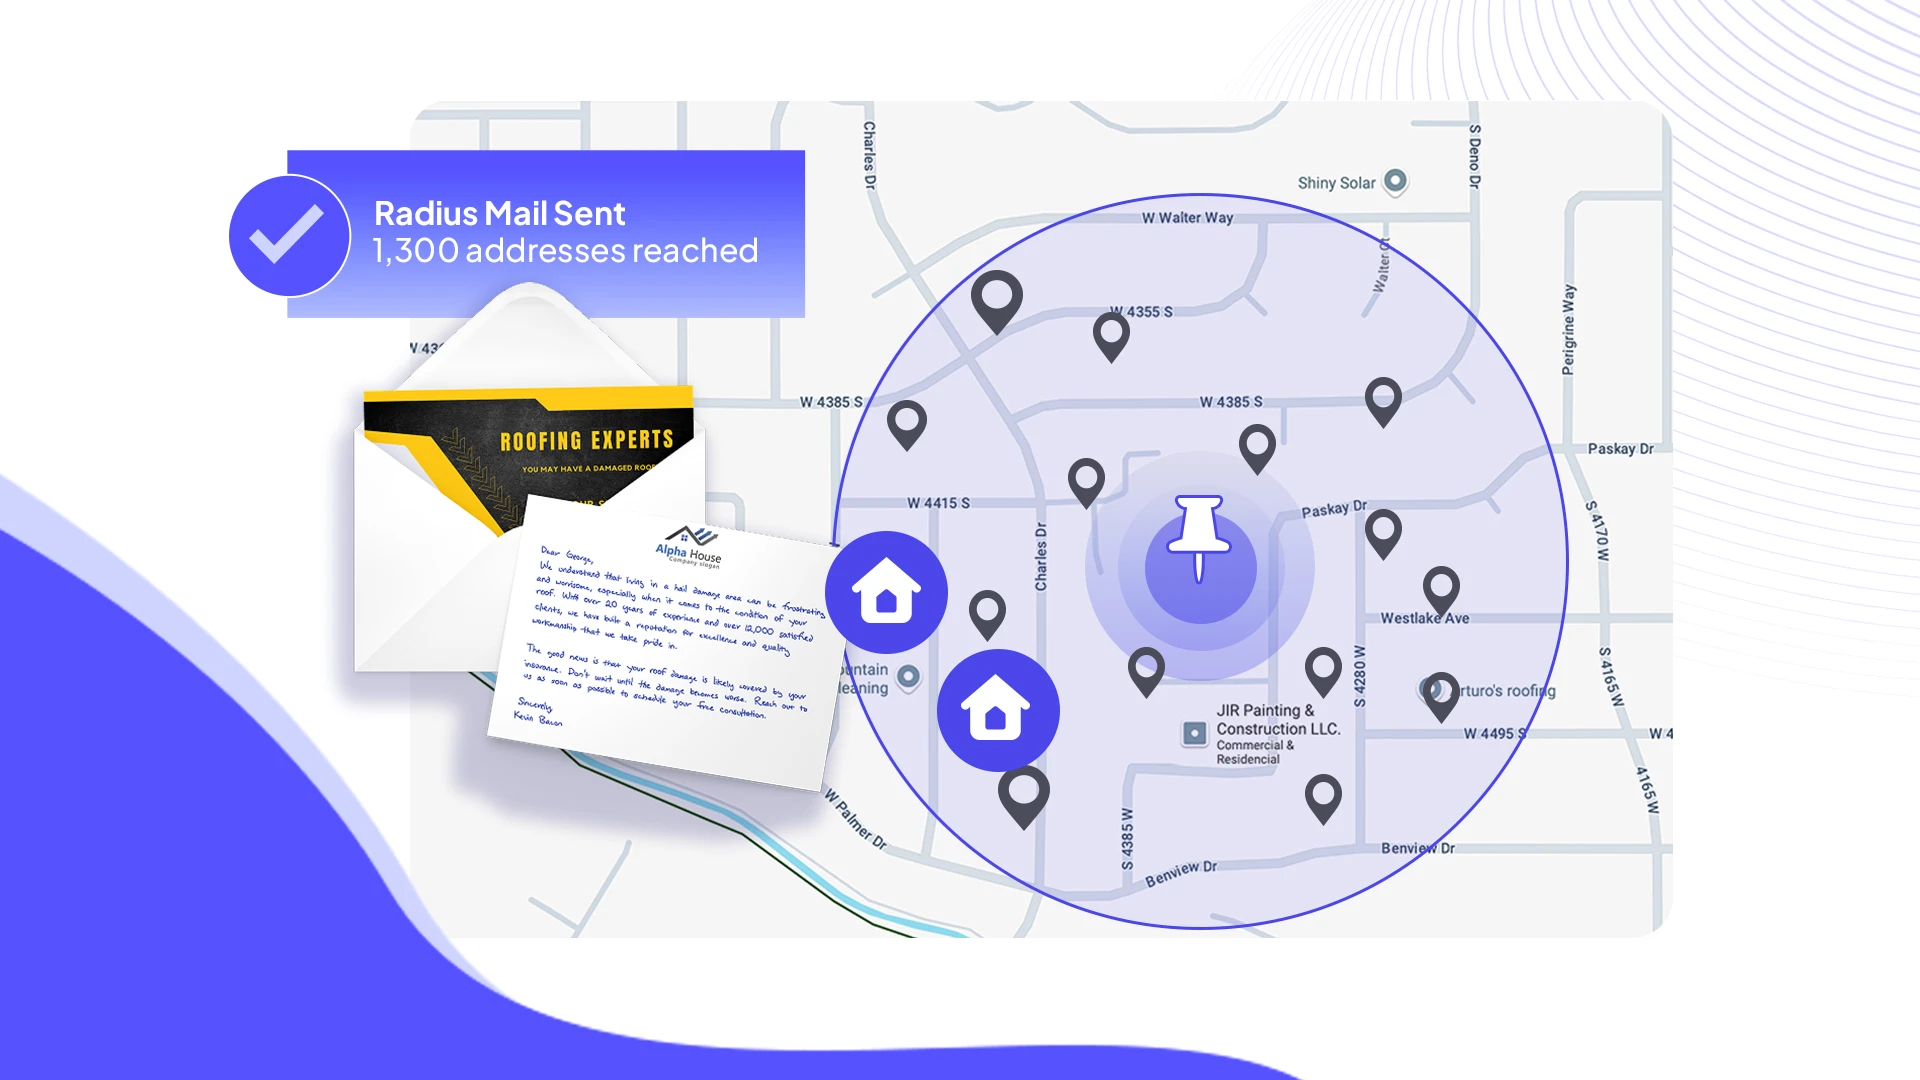
- Establish Service Area:
- Radius: Drop a pin and set the distance around that point.
- Polygon: Draw a custom boundary to match your true service footprint.
.webp)
- Tip: It is fine to draw a larger service area. You can refine storm-by-storm later during approval.
Step 2: Select a Card Template
- Choose a handwritten or printed template.
- Add your logo, brand colors, and a short service-led offer.
- Example: “Free roof inspection for affected homes. Call today.”
.webp)
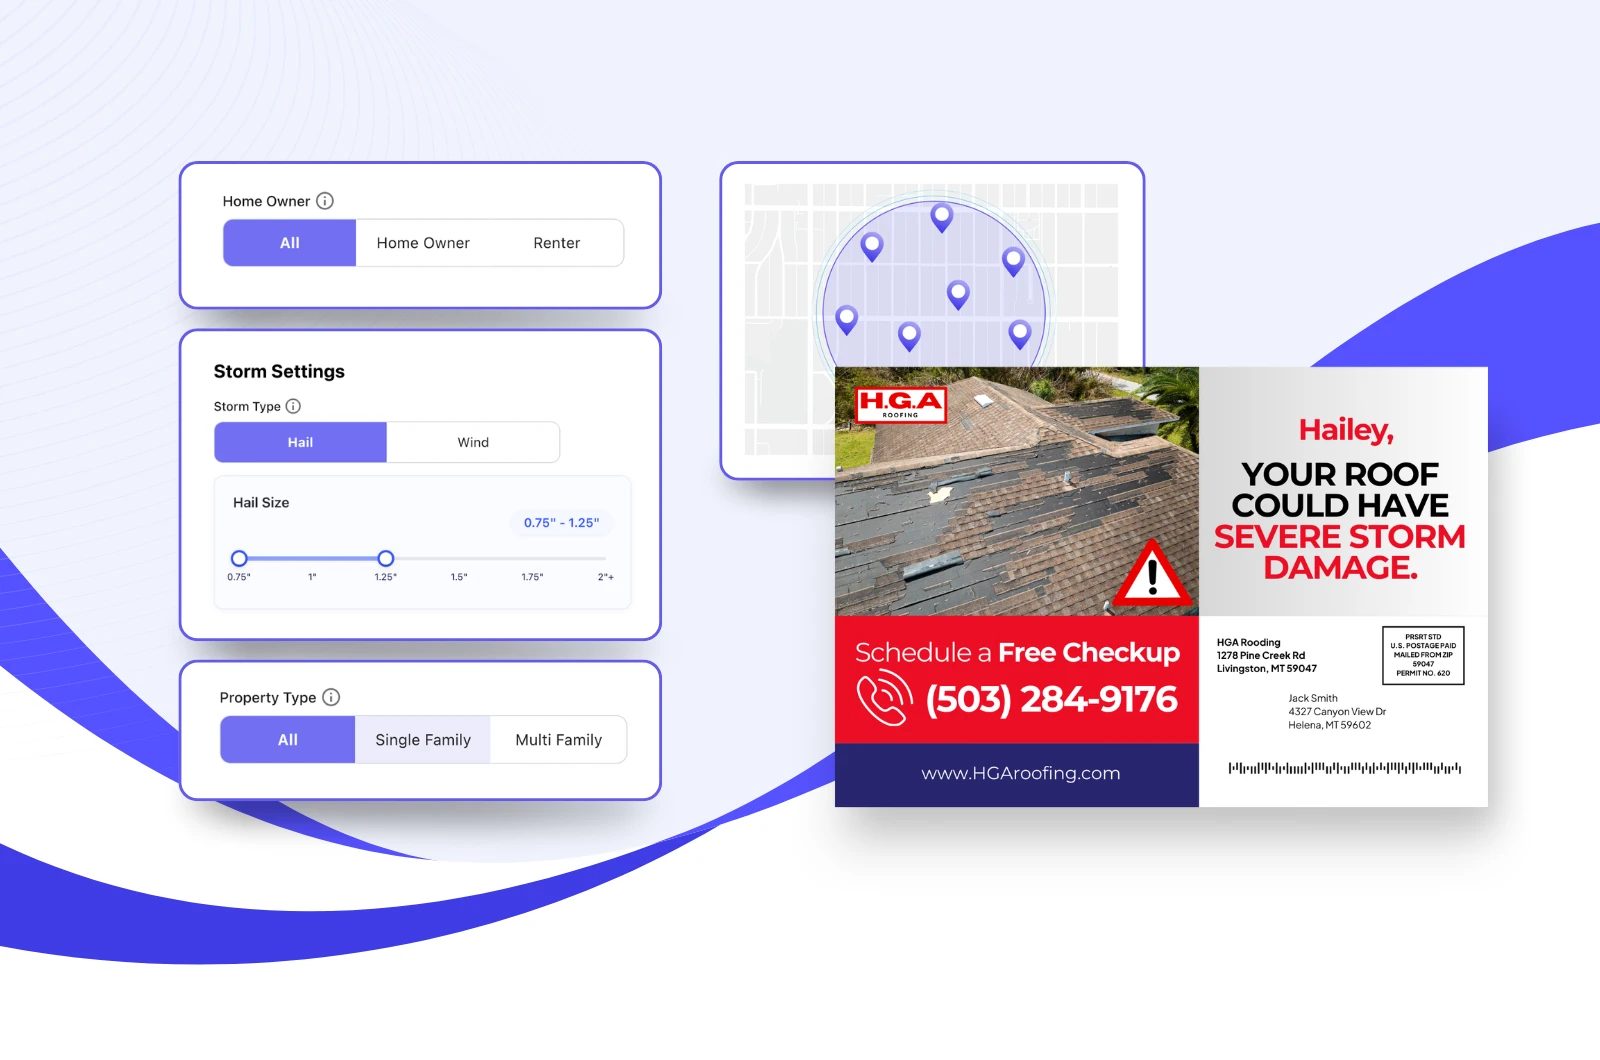
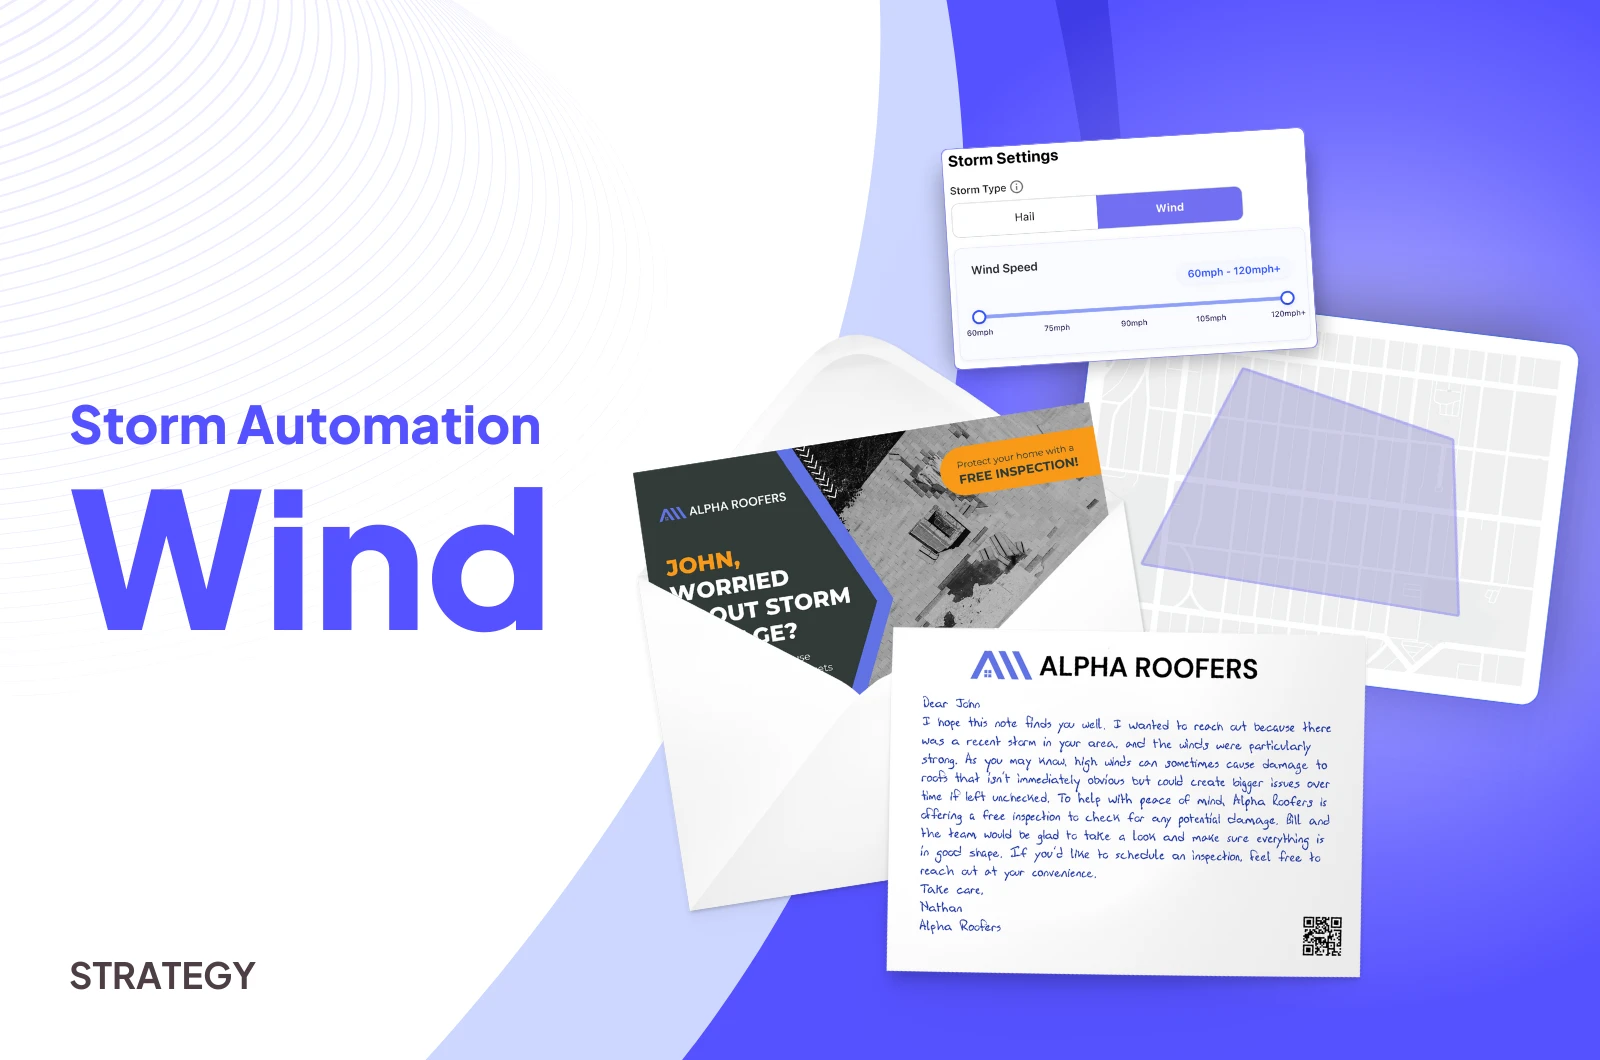
Step 3: Set Storm Criteria
- Storm Type: Pick Hail or Wind.
- Hail: Set the Hail Size slider (for example, 1.00" to 1.75"+).
- Wind: Set the Wind Speed slider (for example, 75 mph to 120 mph+).
- Property Type: All, Single Family, or Multi Family.
- Most roofing and exterior campaigns use Single Family.
- Home Owner: All, Home Owner, or Renter.
- Most campaigns prioritize Home Owner.
.webp)
You will see estimated structure counts that match your selections.
Step 4: Set Max Cards per Storm
Use the Max Cards per Storm slider to cap volume for any single event
(for example, 1,000 to 50,000). This protects your budget and your crews’ capacity.
.webp)
Step 5: Configure Advanced Settings
- Map Type:
- Meteorologist + Algorithmic Maps — Largest Reach
Broadest coverage and strong reach. Good when you plan to approve storms before sending. - Meteorologist Maps — Most Accurate
Hand-drawn by HailTrace meteorologists. More conservative and tighter to ground truth.
- Meteorologist + Algorithmic Maps — Largest Reach
- Storm Automation Period (optional):
Run the automation within a date window if you only want it active for a season. - Re-sending:
Set a cooldown period so the same household does not receive multiple storm mailers within your selected timeframe
(for example, once every 4 weeks).
.webp)
Step 6: Turn On Approval and Enable
- Approval: Check “Notify me for approval before executing order.”
Add one or more notification emails. - Click Enable Storm Automation.
You will see Active status. You can pause at any time.
.webp)
Before this update, storm mail could auto-send as soon as criteria were met. With approval on, you review every event and control spend storm by storm.
After You Enable: Approvals and Sending
1) Email Alerts
When a storm that matches your criteria occurs inside your service area, you receive an email with the storm date, storm size or wind speed, and a Review Storm link.
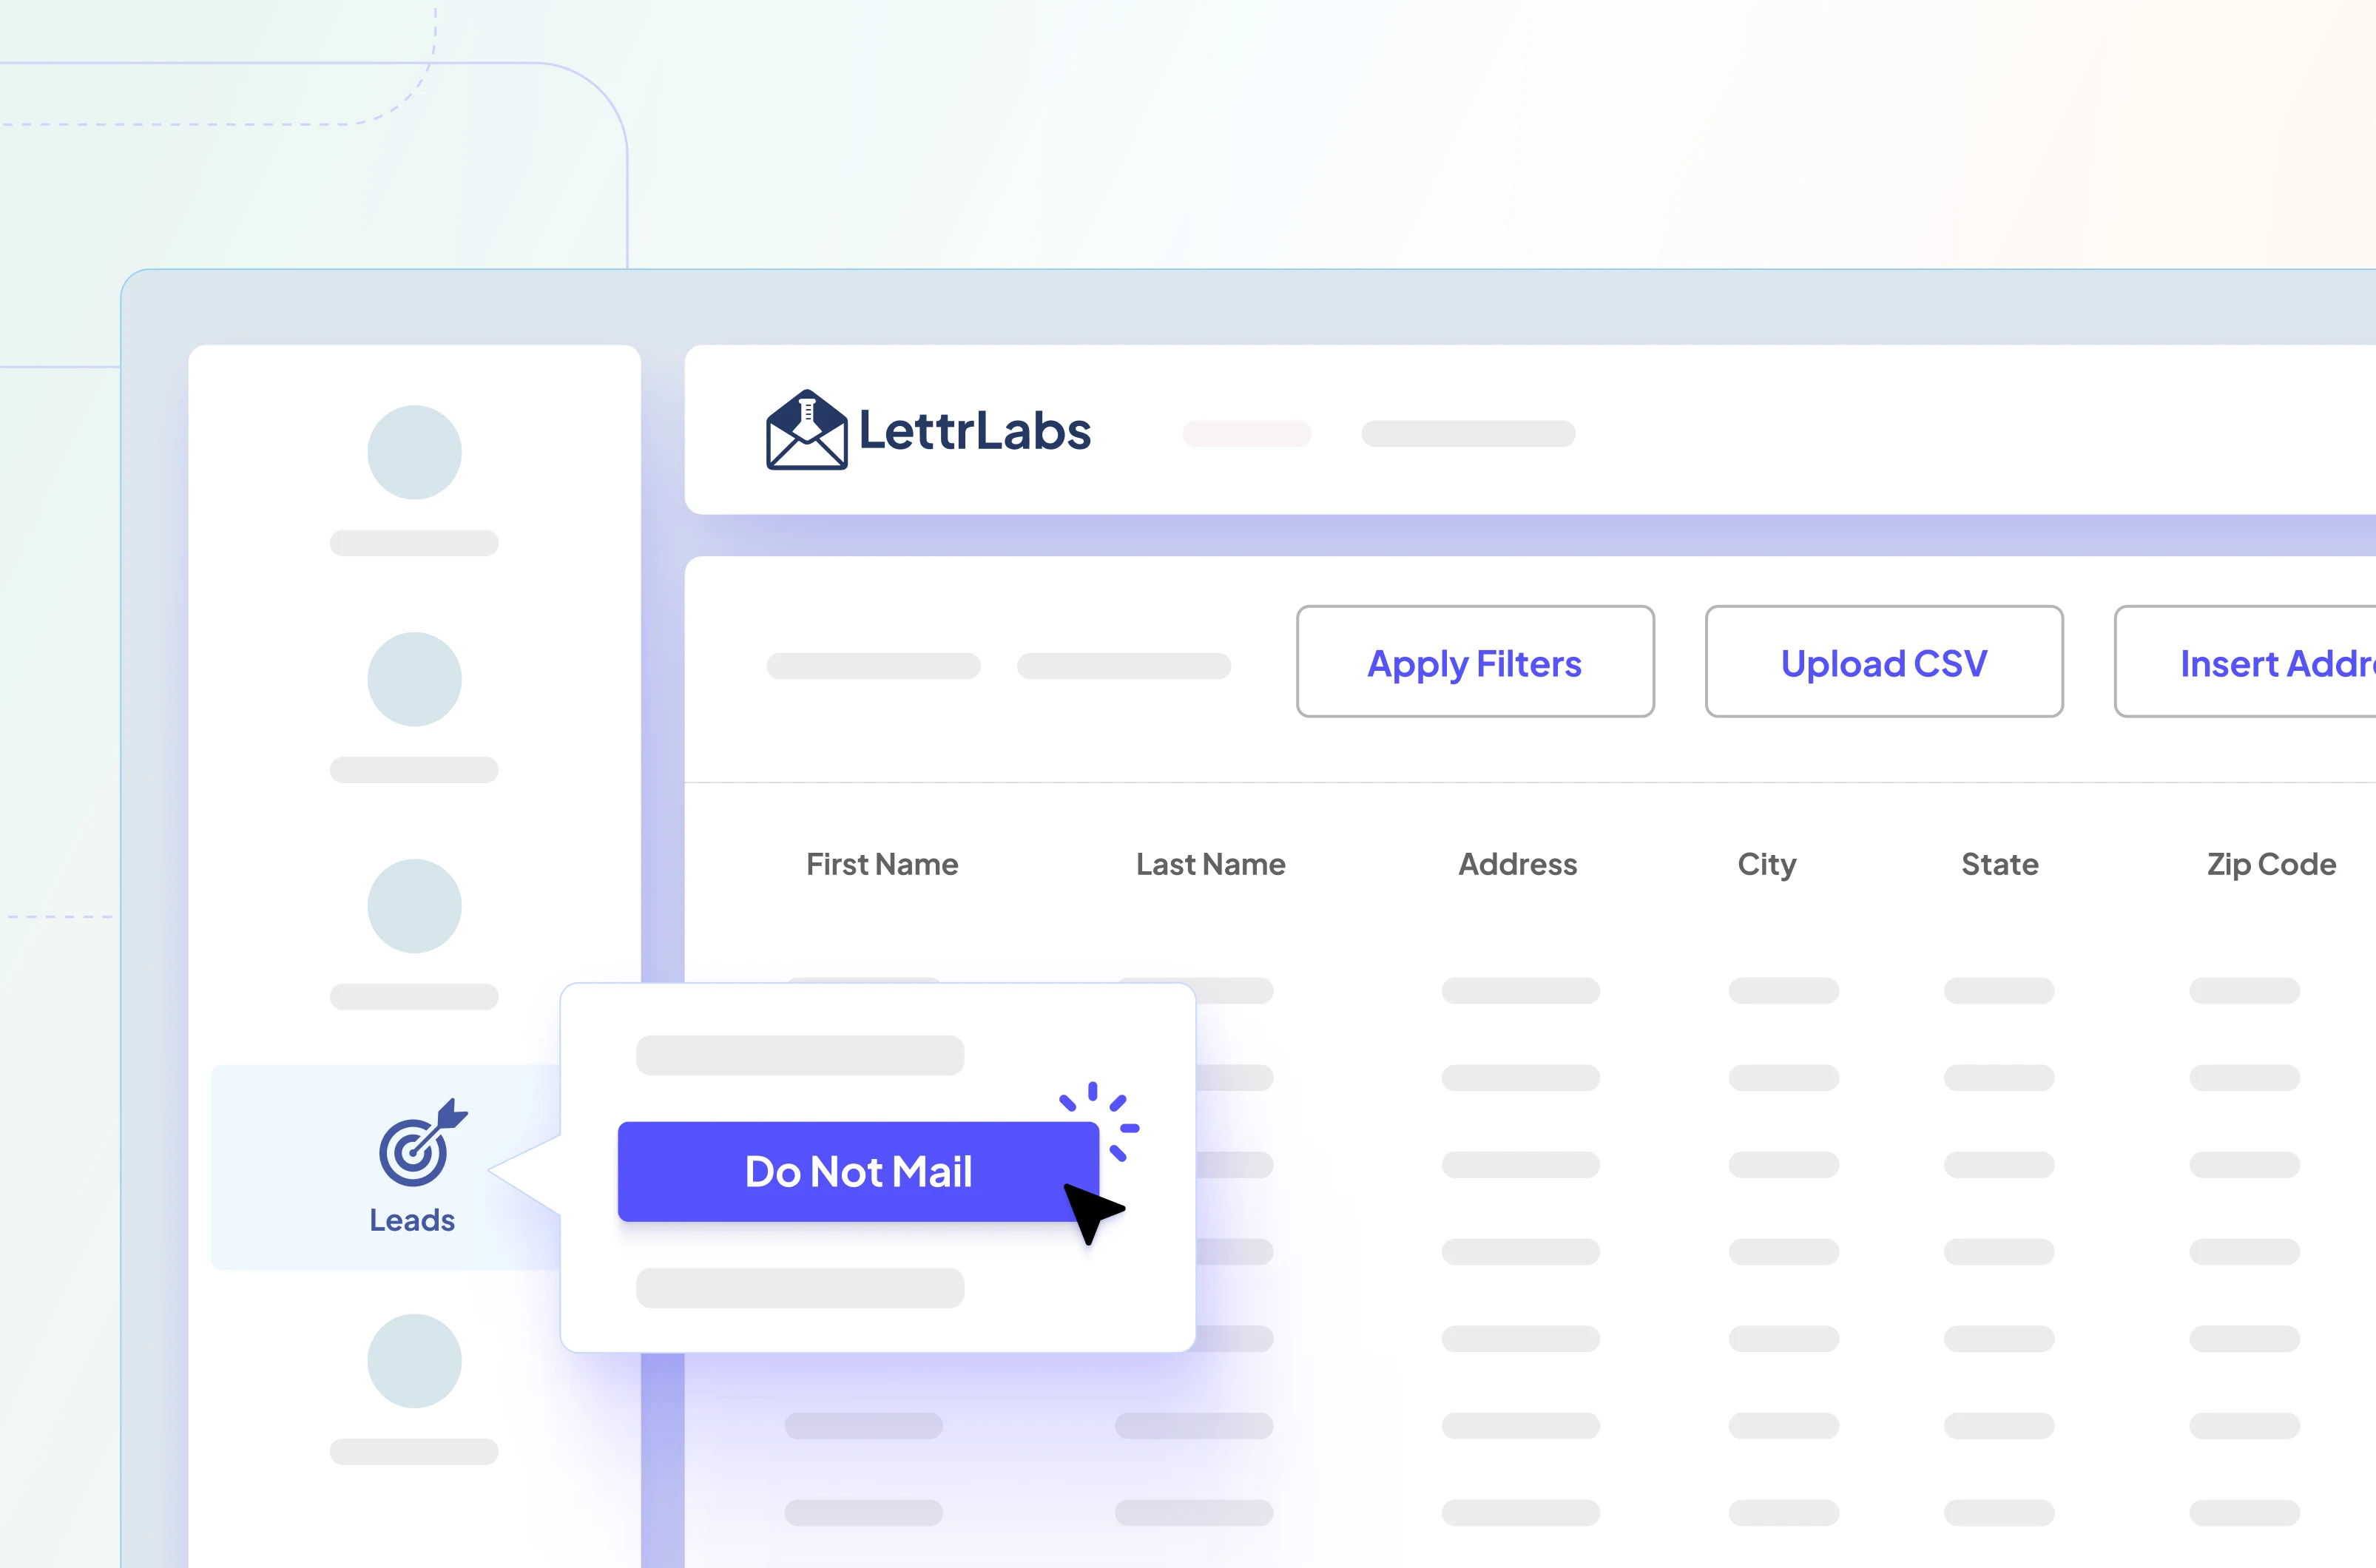
2) My Storms Dashboard
Go to Automations → My Storms to see every qualifying event.
Each row shows storm type, size, impacted structures, and quick actions:
- Refine
- Approve
- Skip
.webp)
3) Refine a Storm (live preview)
Click Refine to open the review screen:
- See your service area (red outline), the storm footprint, and selected regions (legend shown on map).
- Adjust Hail Size or Wind Speed thresholds to match the real severity.
- Use Cards to Send to scale volume up or down within your cap.
- Review Order Details with counts, unit cost, and total cost that update in real time.
If it looks good, click Approve to launch the mailing for that event.
4) Approve or Skip
- Approve: We queue and print mail for the selected households.
Production speed follows the severe storm workflow (expedited 24 to 72 hours with First Class postage). - Skip: No mail is sent for that event. Your automation remains active for future storms.
Notes and Best Practices
- Start with Single Family + Home Owner for highest intent.
- Pick Largest Reach maps when you plan to approve events manually.
- Use Max Cards per Storm and Re-sending to protect budget and customer experience.
- Keep templates concise, empathetic, and service-forward. Include a QR code or trackable phone number.
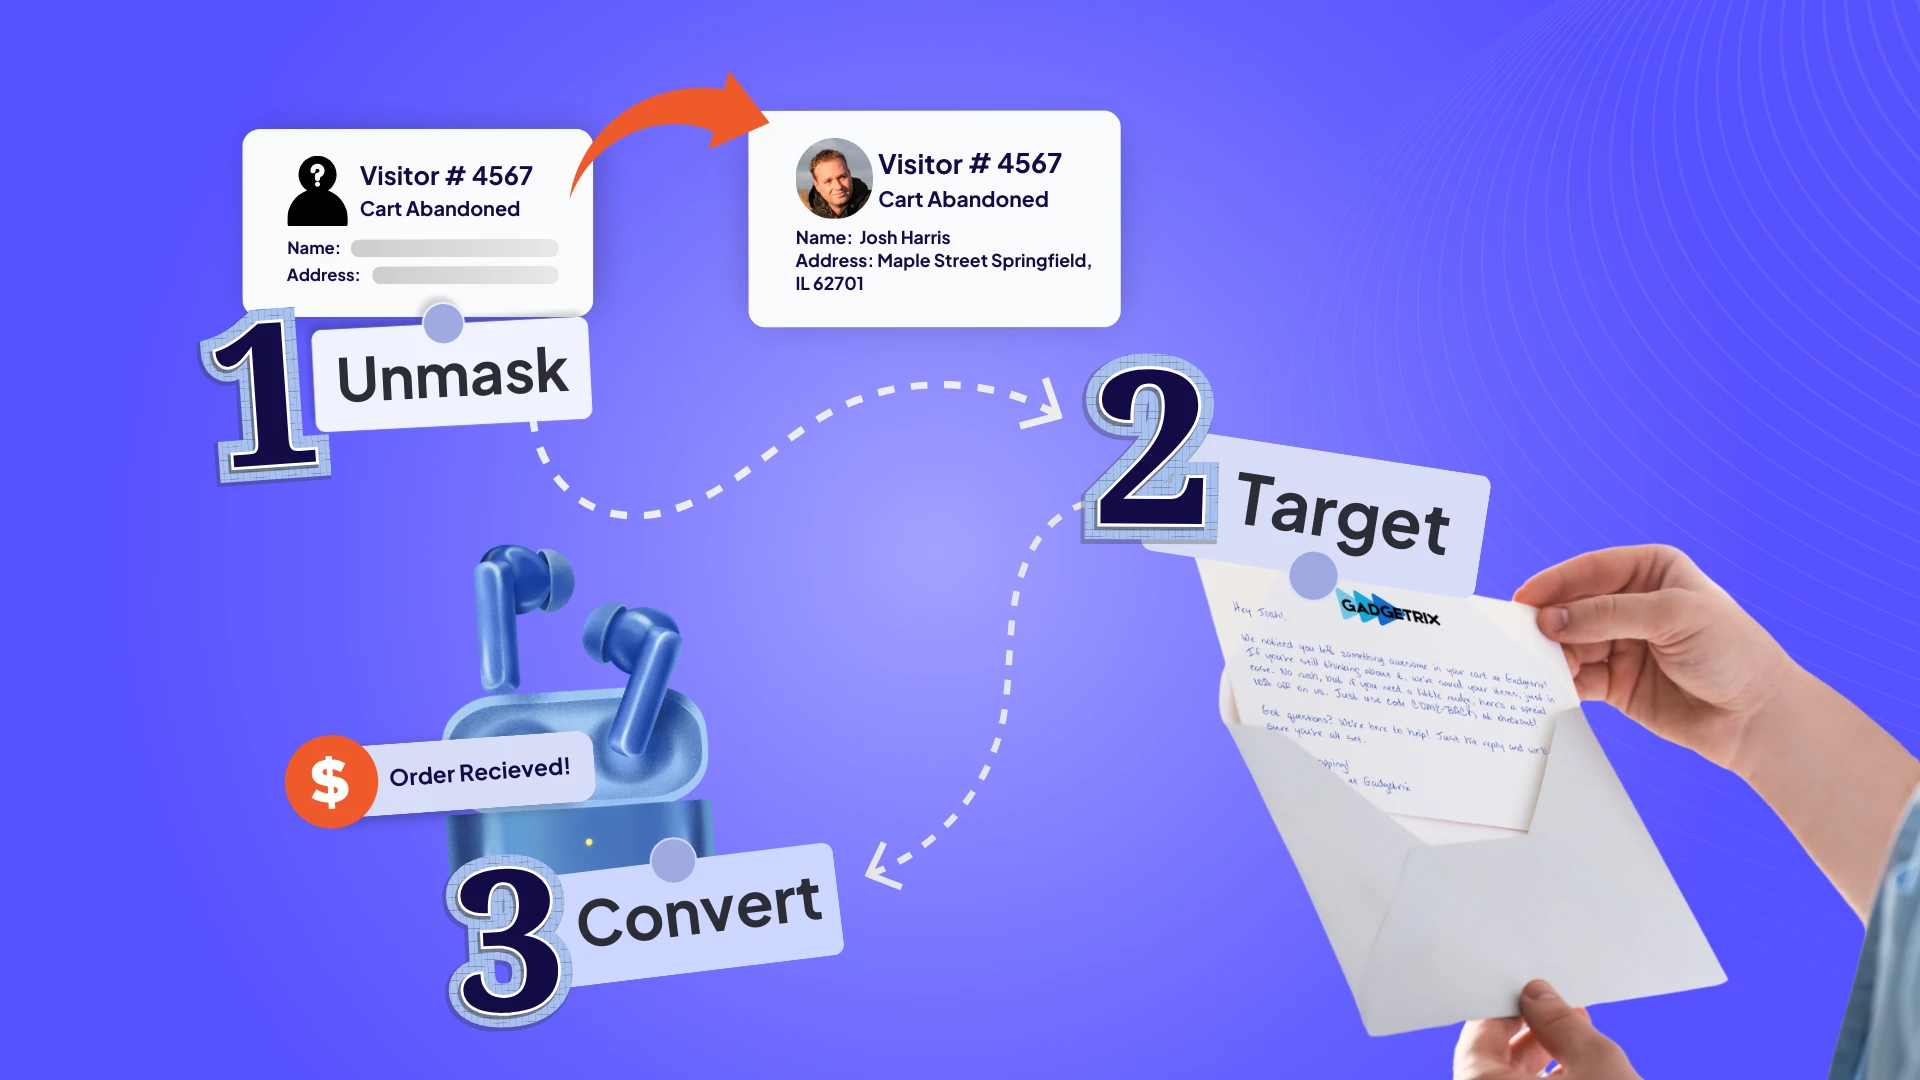
Why Home Services Should Care
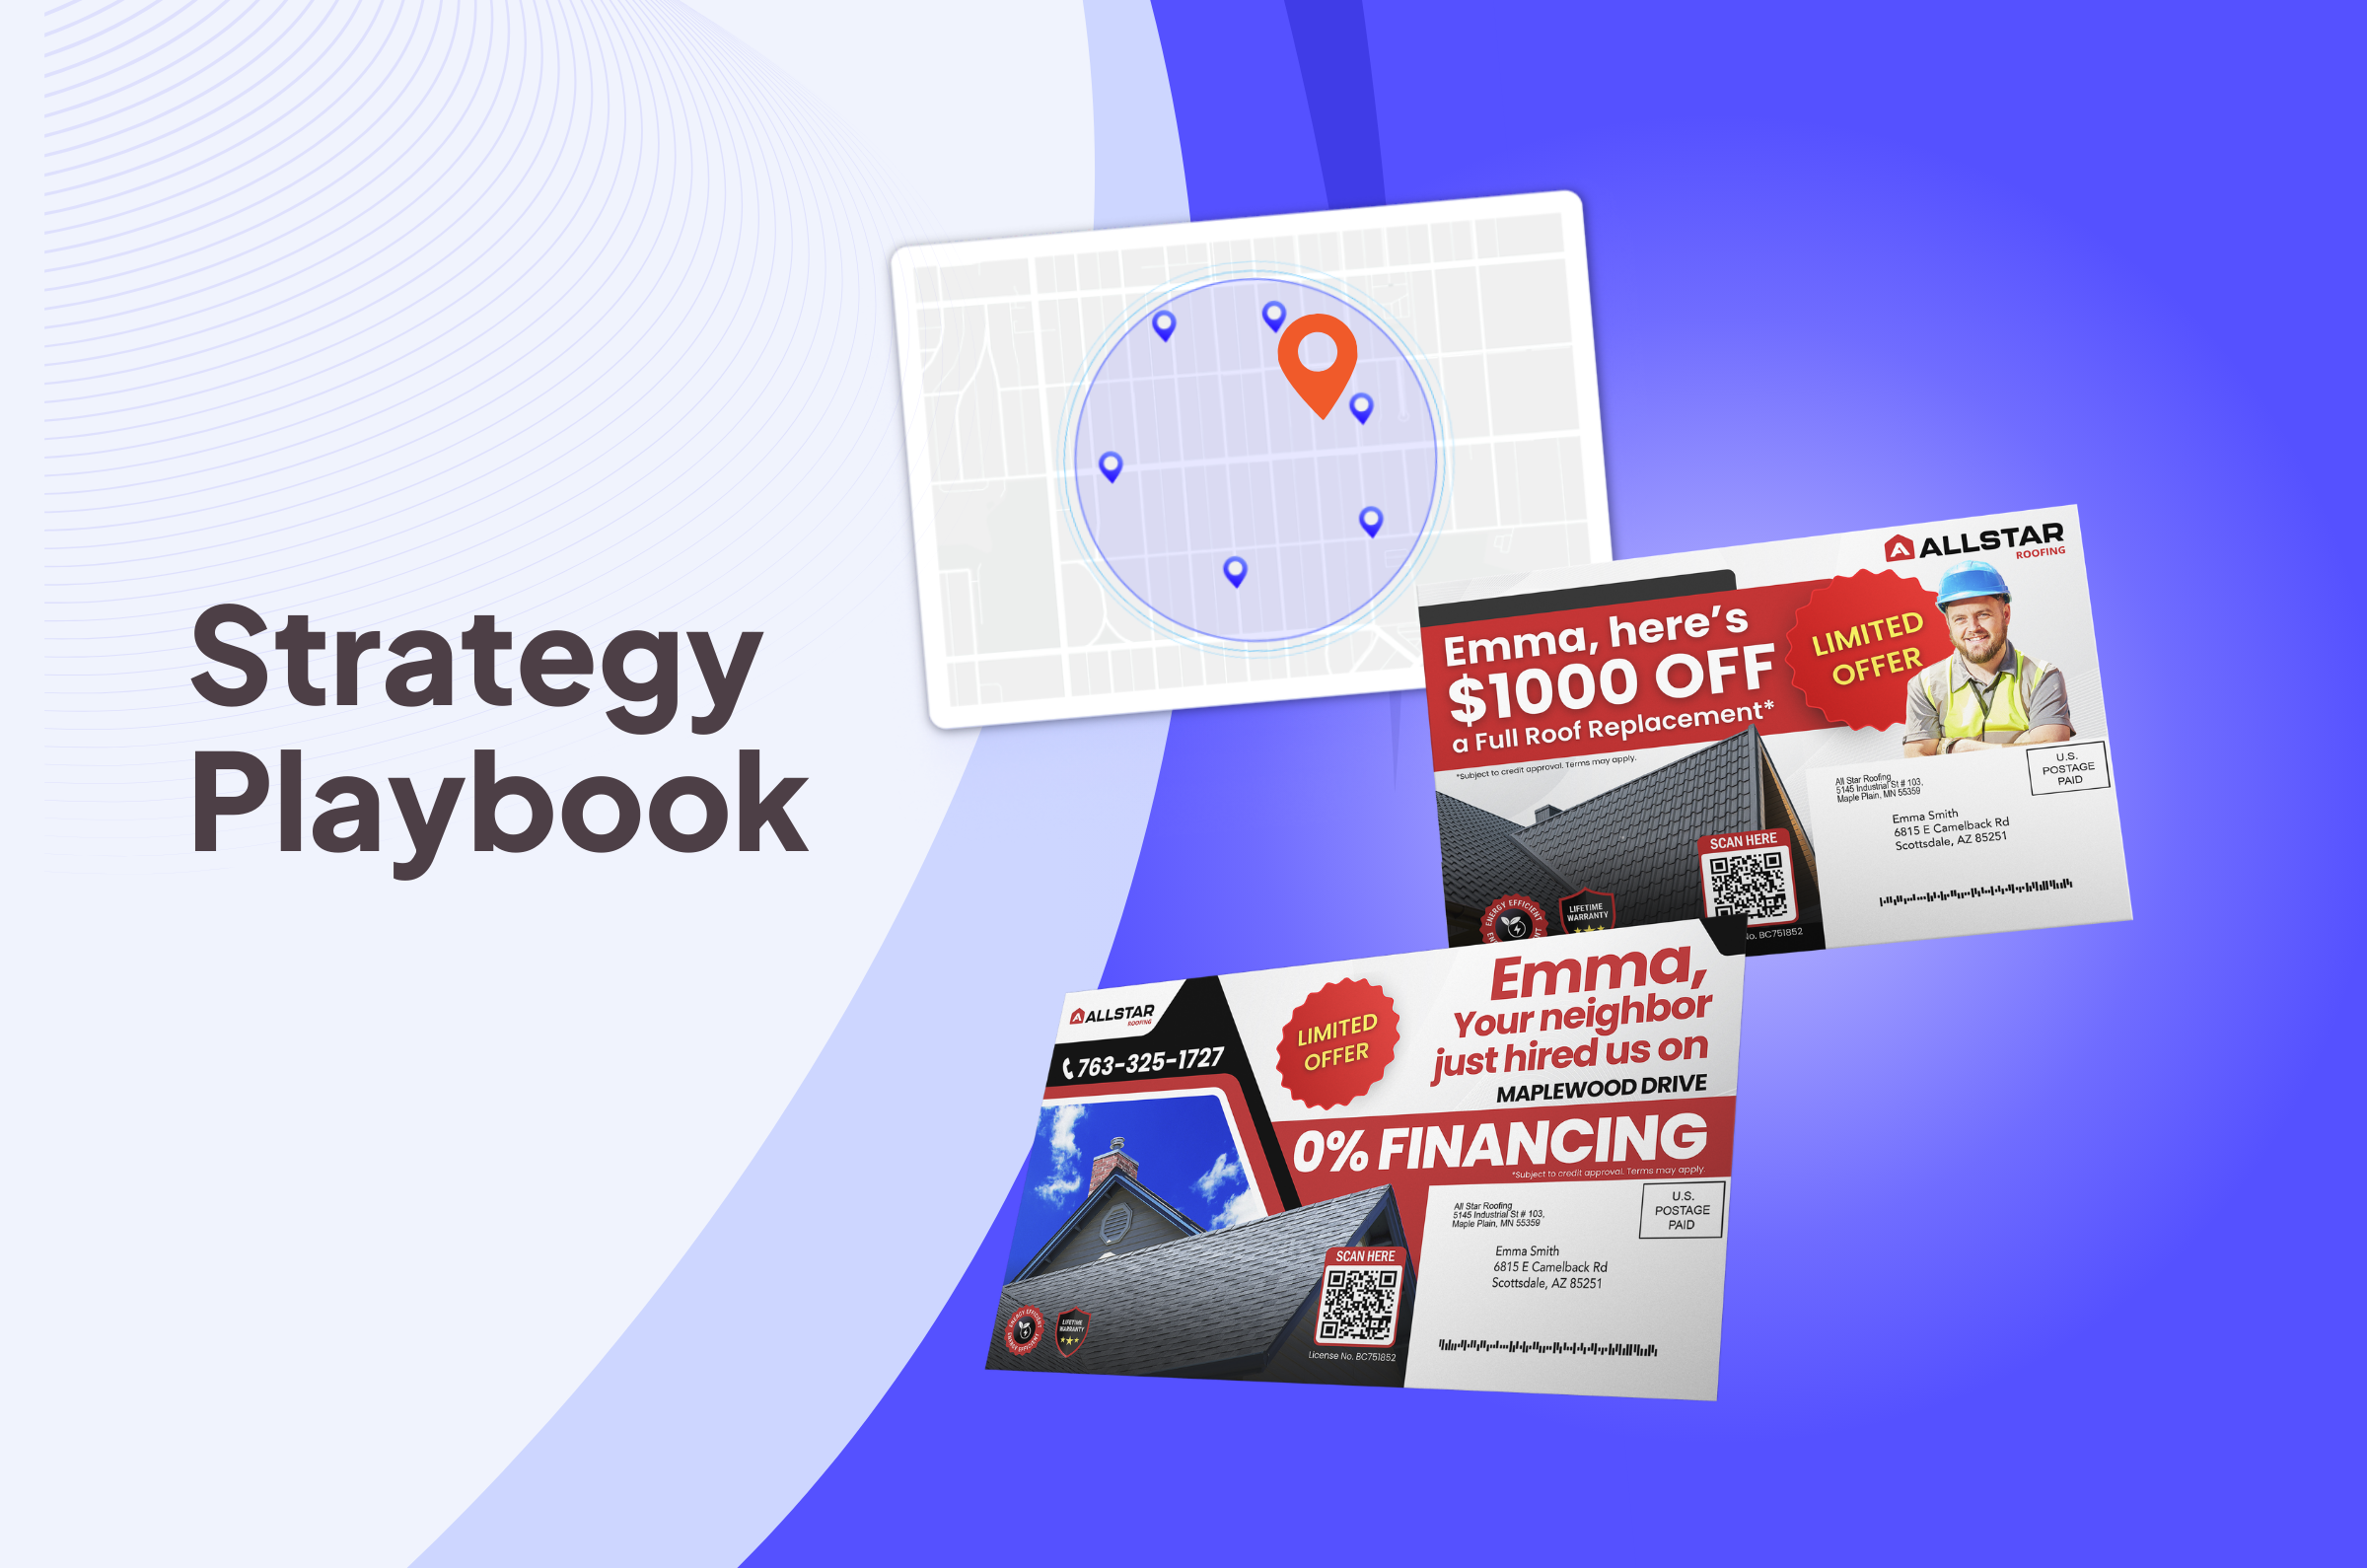
If you’re in roofing, siding, or restoration, storms are your #1 lead source. But competition is fierce.
- Homeowners affected by storms are the highest-intent prospects.
- Speed-to-market wins the job. The first piece of mail in the box usually gets the call.
- Automation ensures consistency. You’ll never forget to follow up after a storm.
- Approval flow protects ROI. You control spend storm-by-storm instead of blasting every event.
💬 Case study: See how a roofing company used Storm Automation after hail events to book inspections fast and drive measurable ROI. Read the case study.
Key Takeaways
- Storm Automation = Speed + Control + Precision.
- Be first in the mailbox when demand spikes after a storm.
- Automate the busywork, but approve each storm before spend.
- Use advanced maps and filters to stay targeted and efficient.
Want Help Setting This Up?
💡 Want to see Storm Automation in action? Book a quick walkthrough with our team and learn how home services companies are staying one step ahead after every storm.


.png)


