


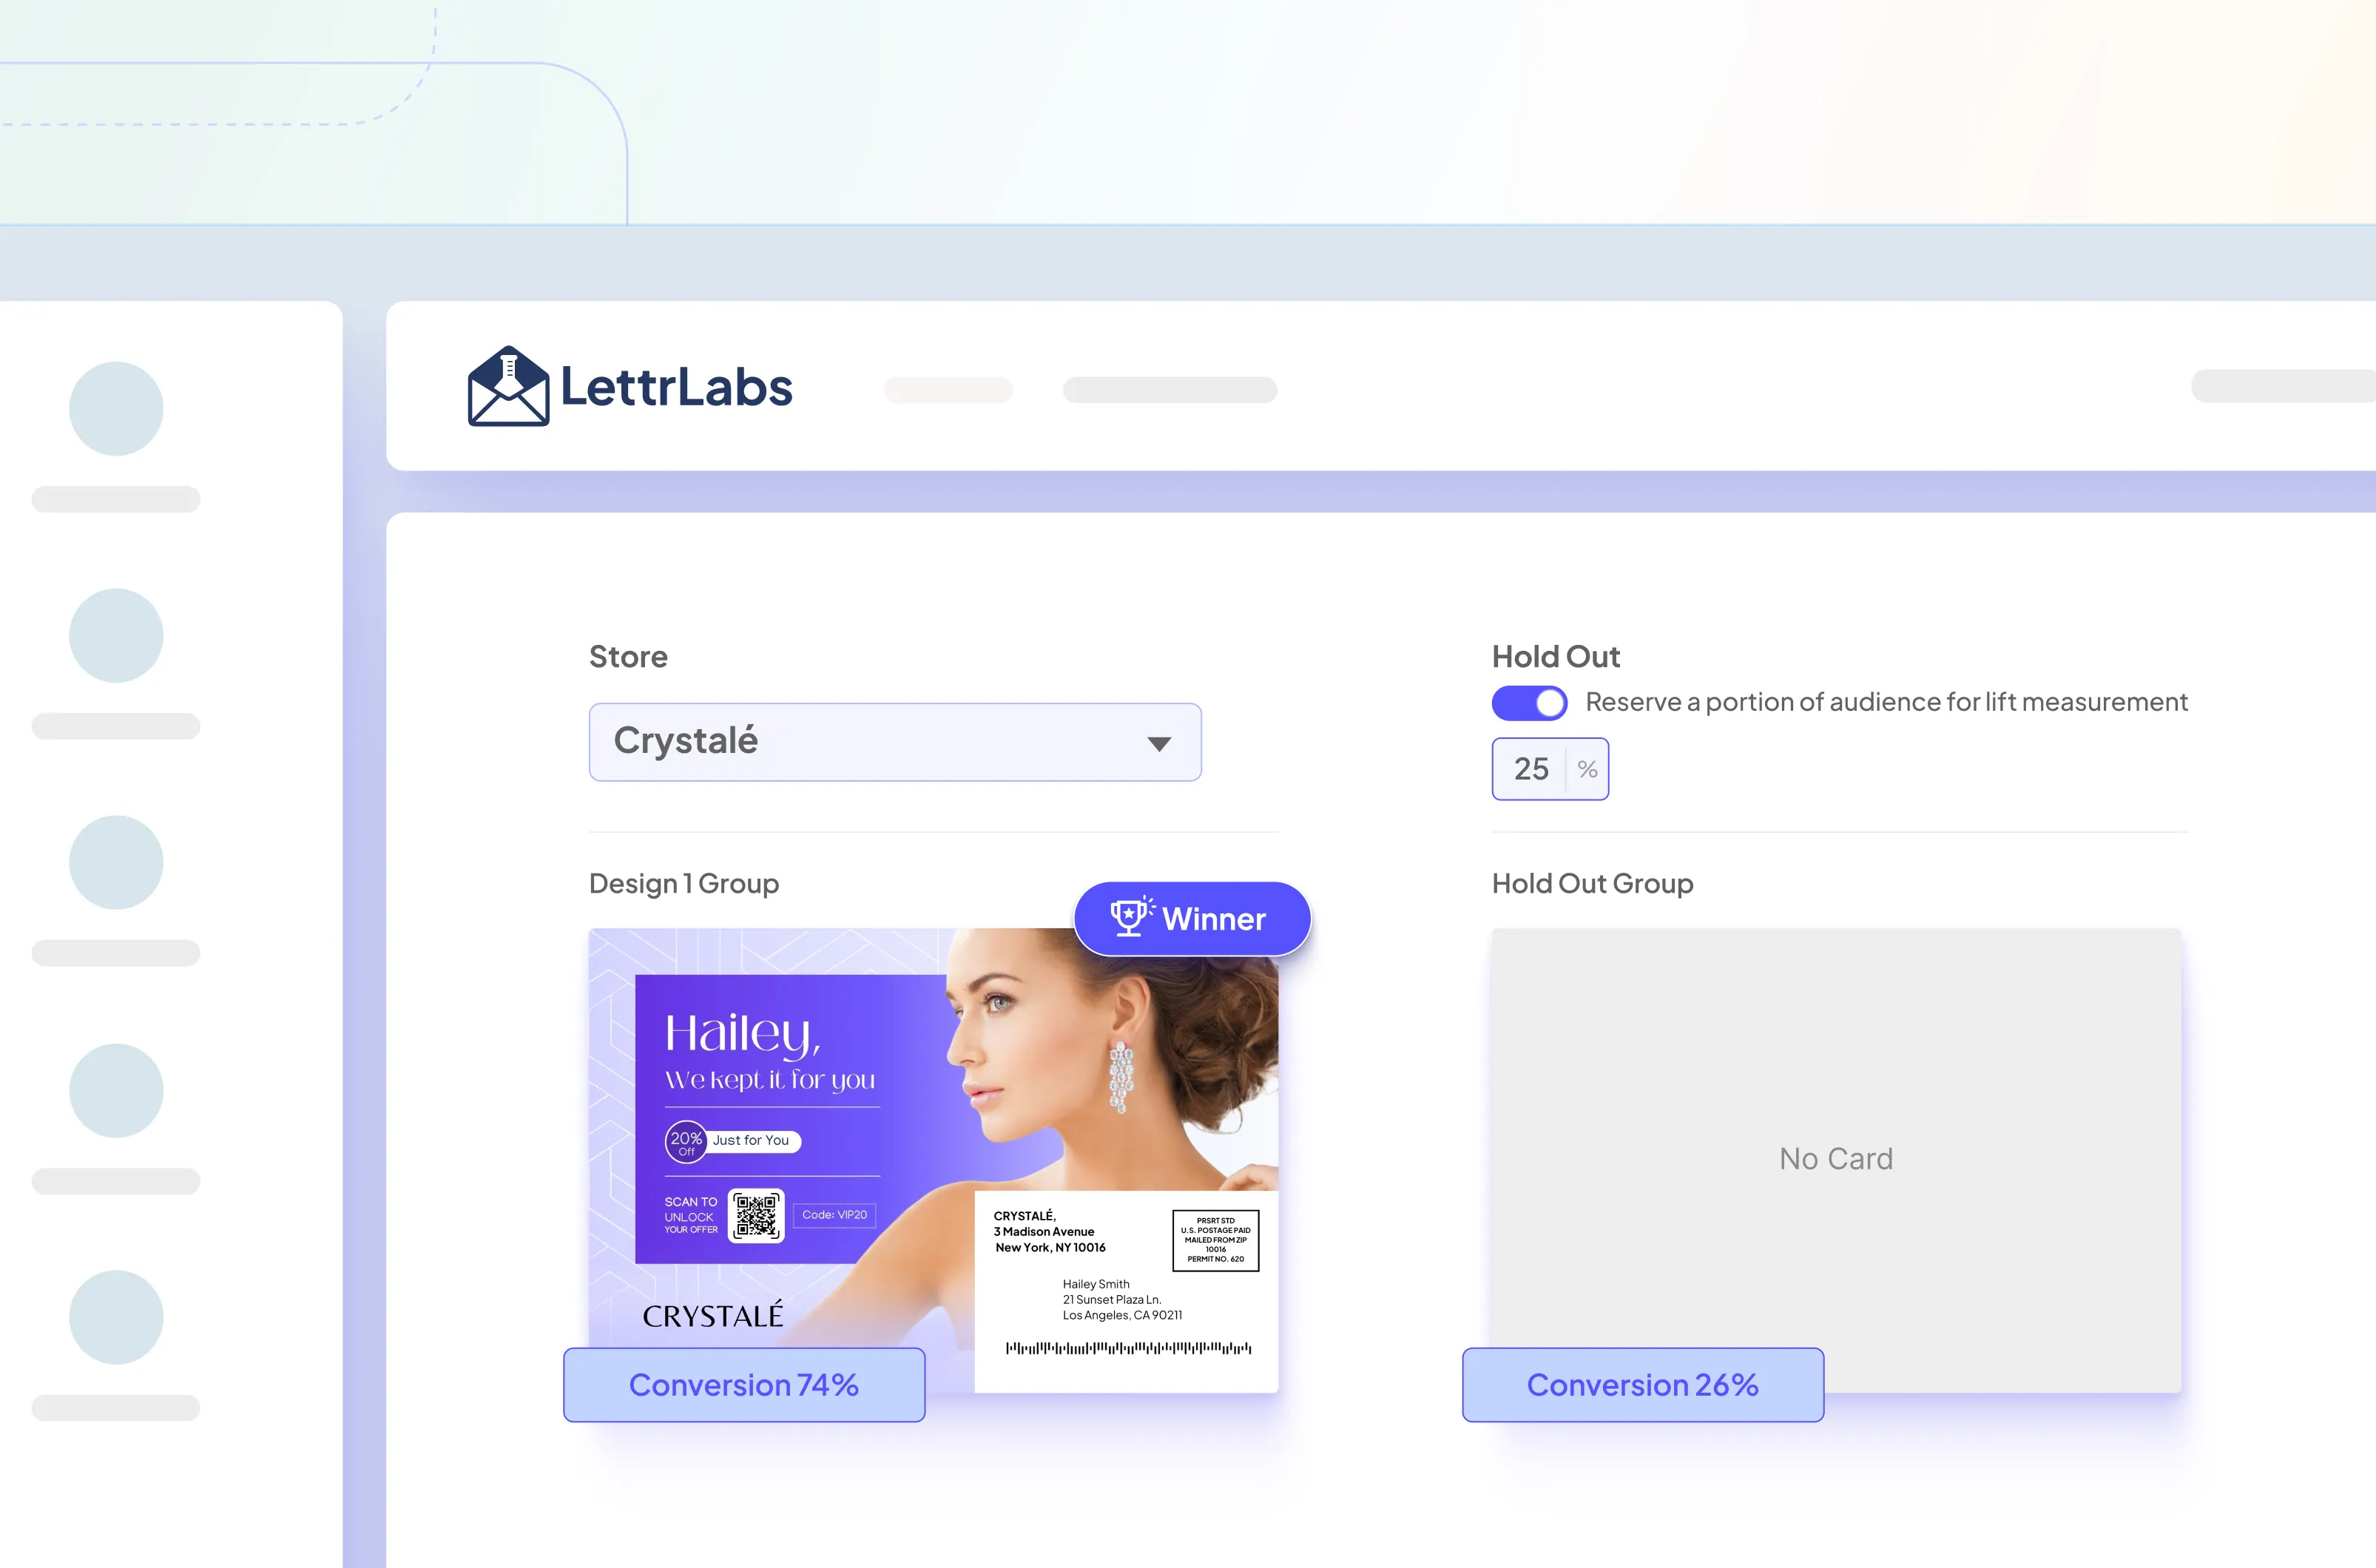
What is Mover Mail?
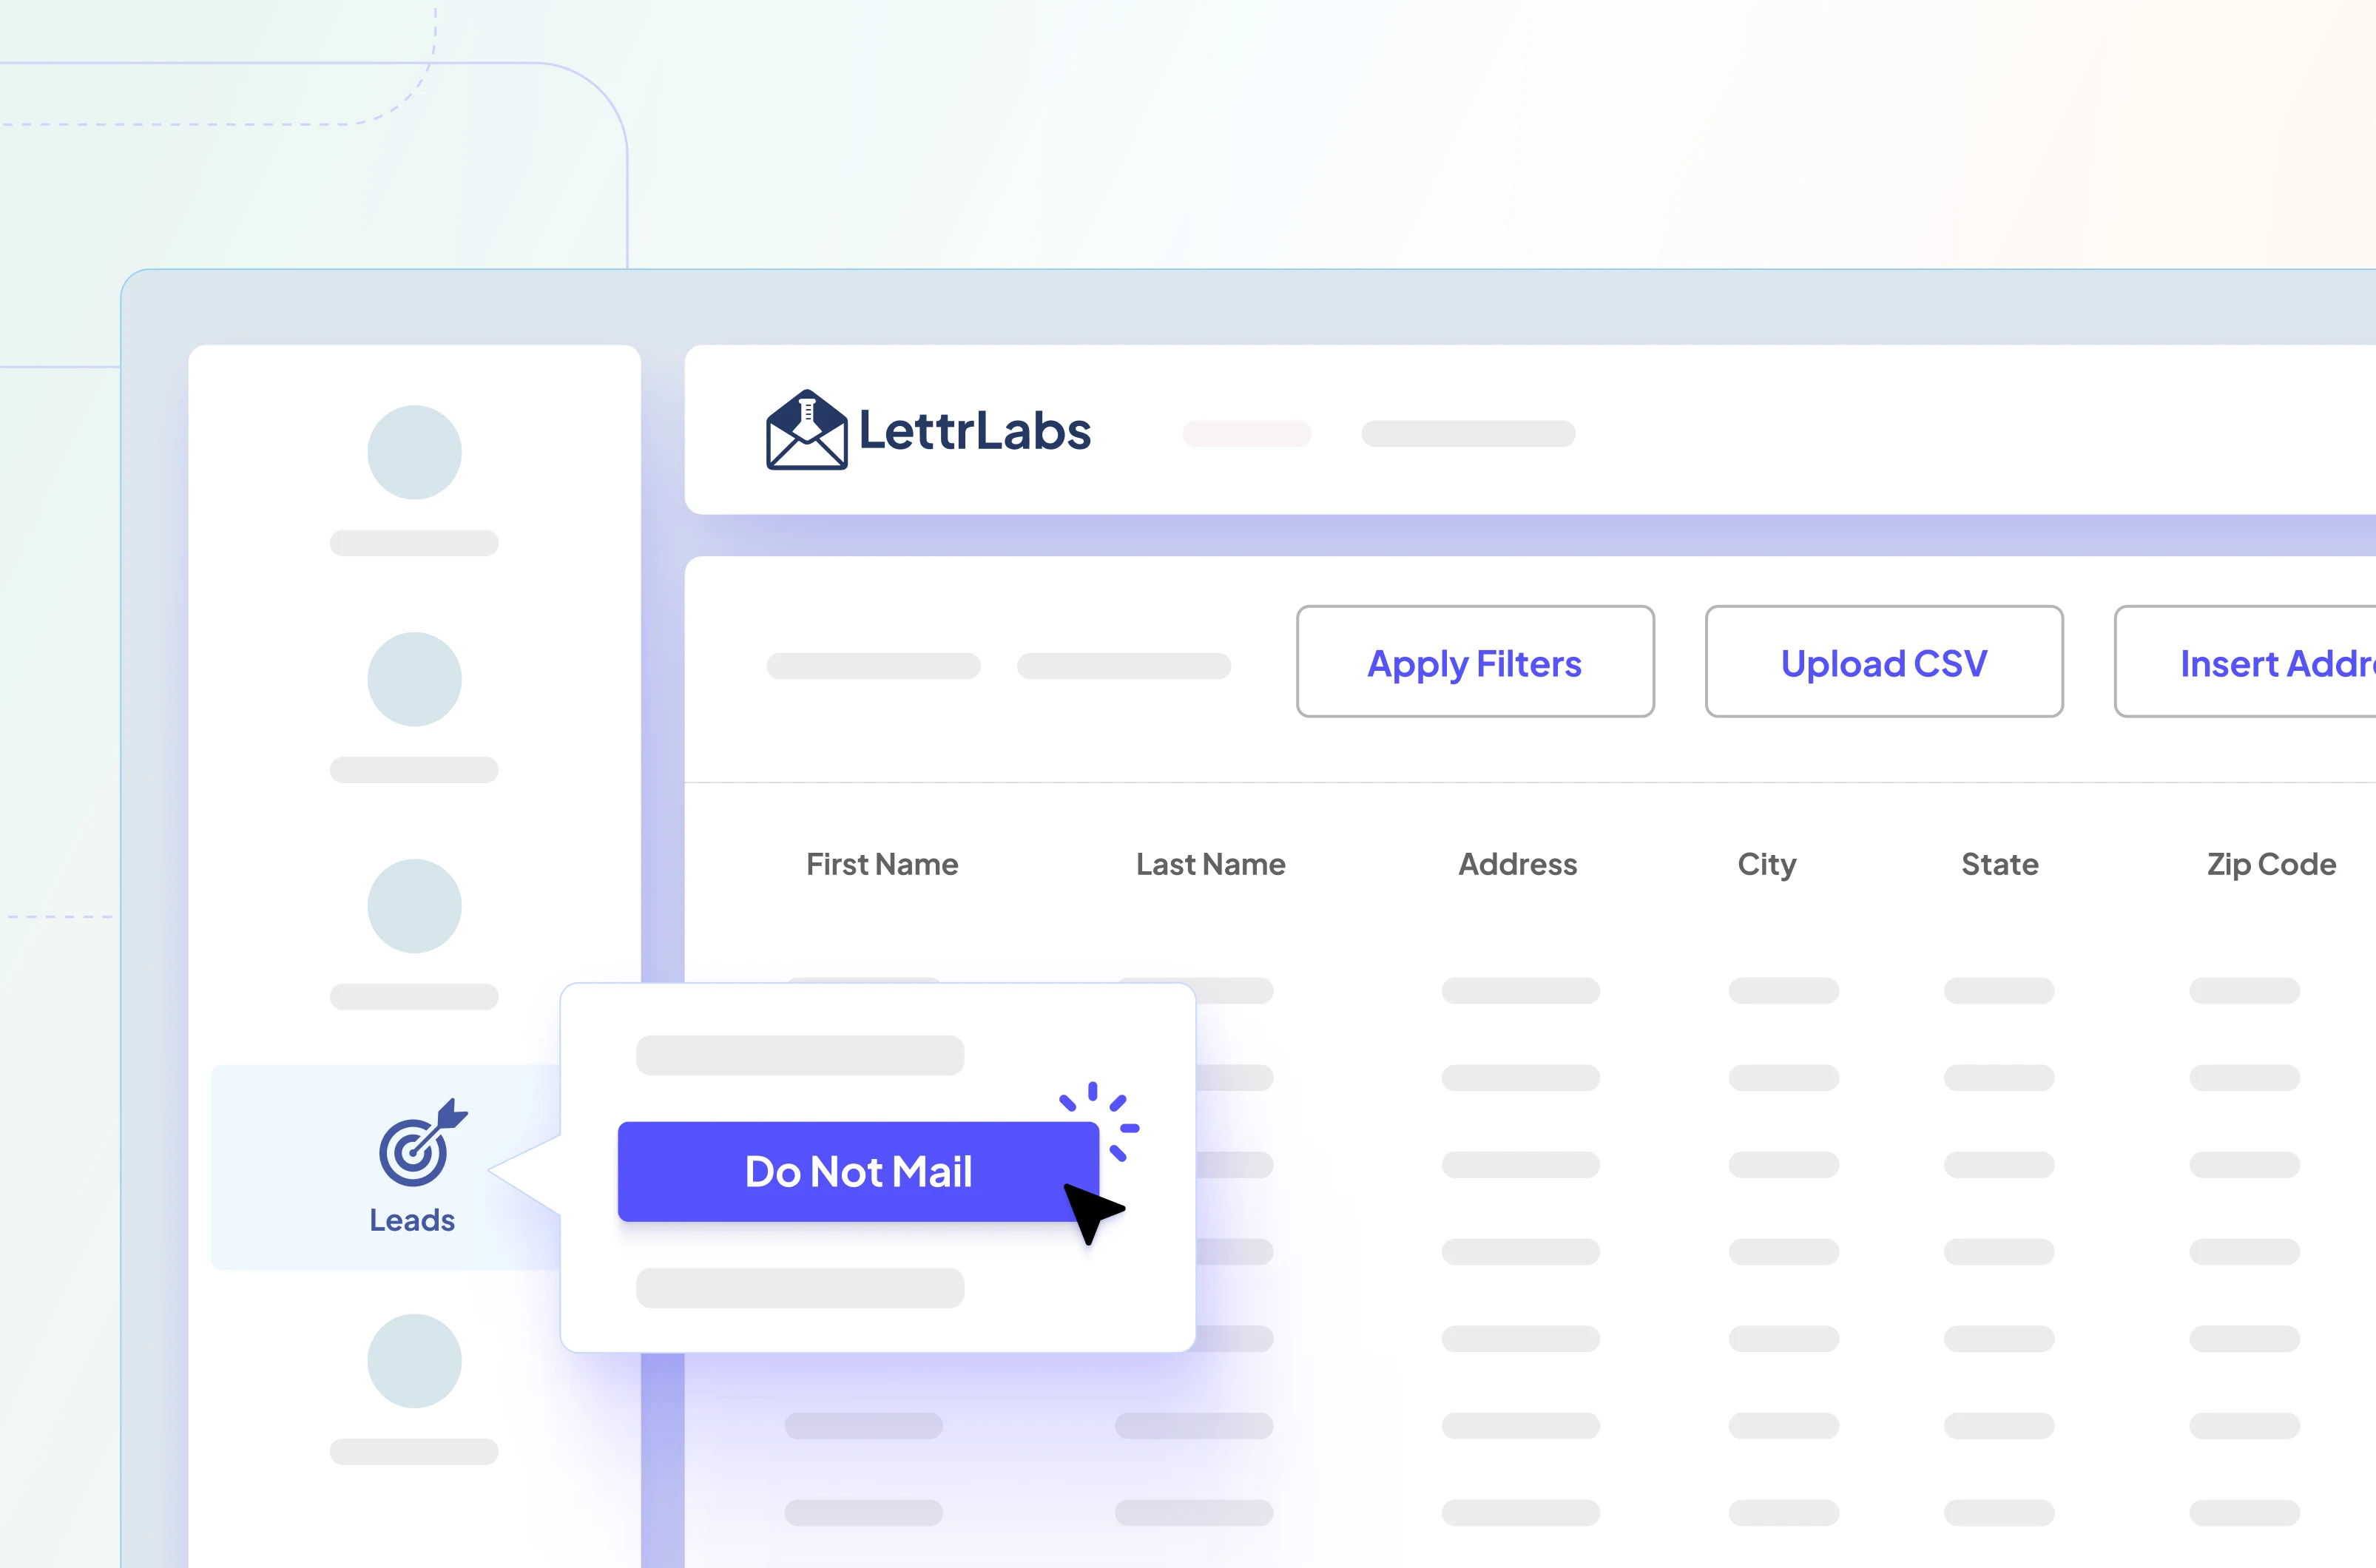
Mover Mail is LettrLabs’ real-time automation that sends personalized direct mail to people who have recently moved into your service area. Once enabled, it runs continuously with no manual list uploads.
You can:
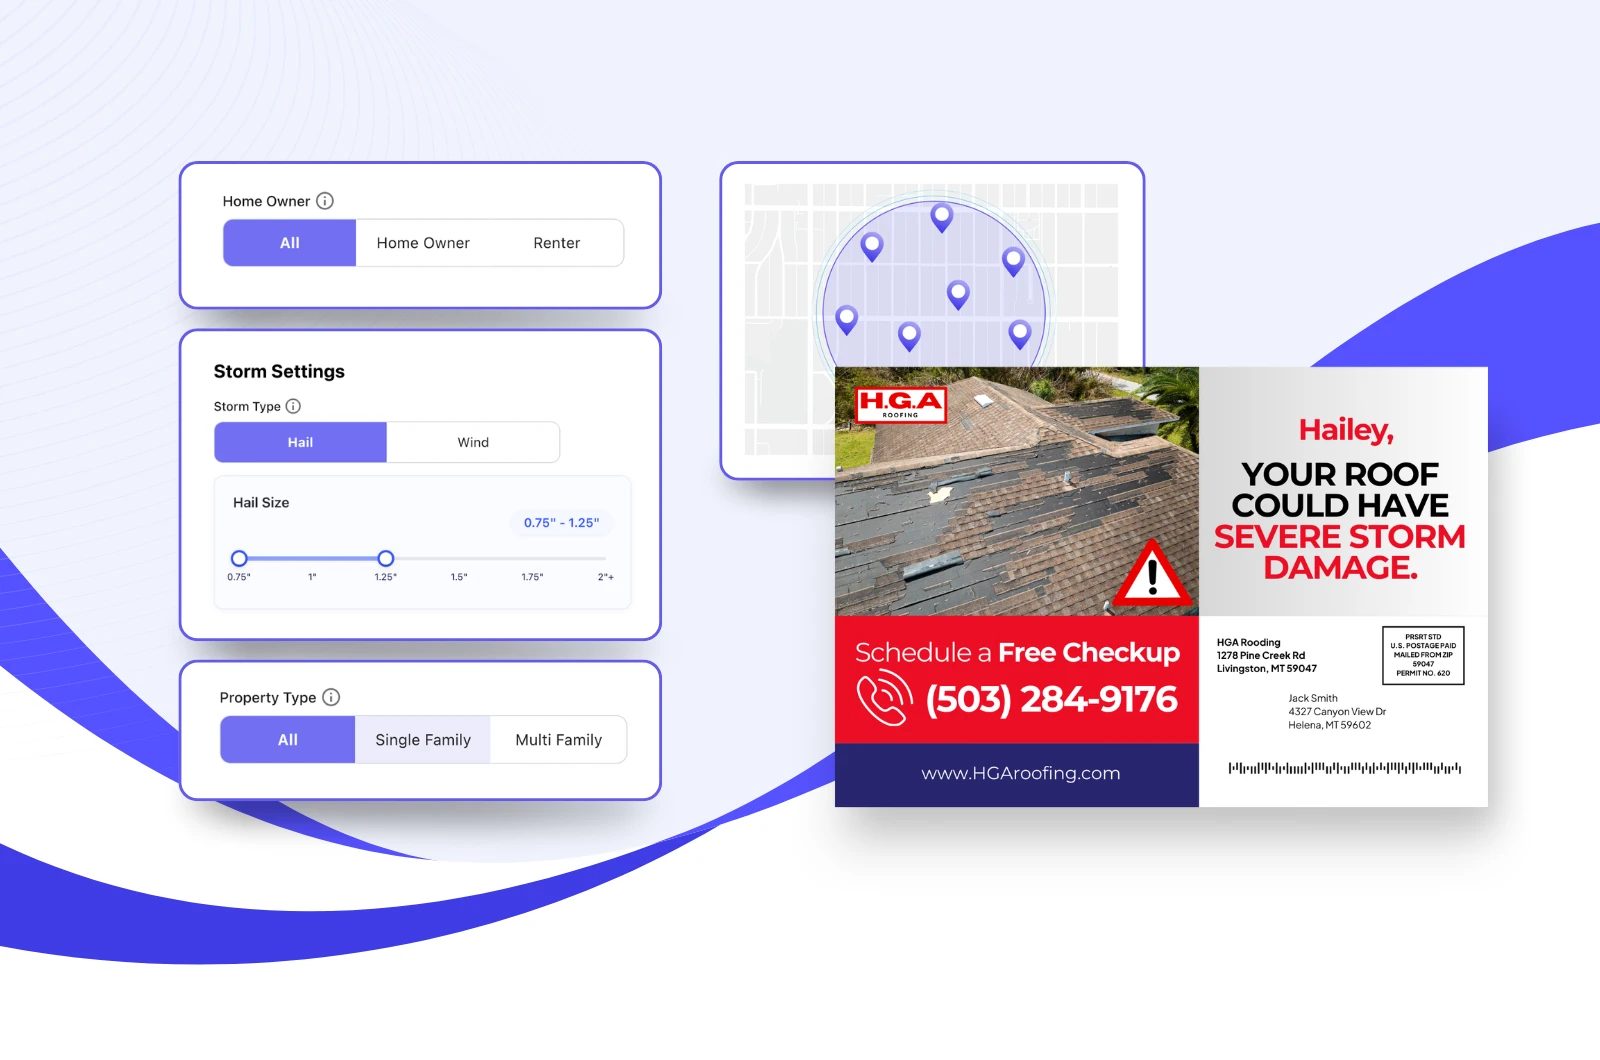
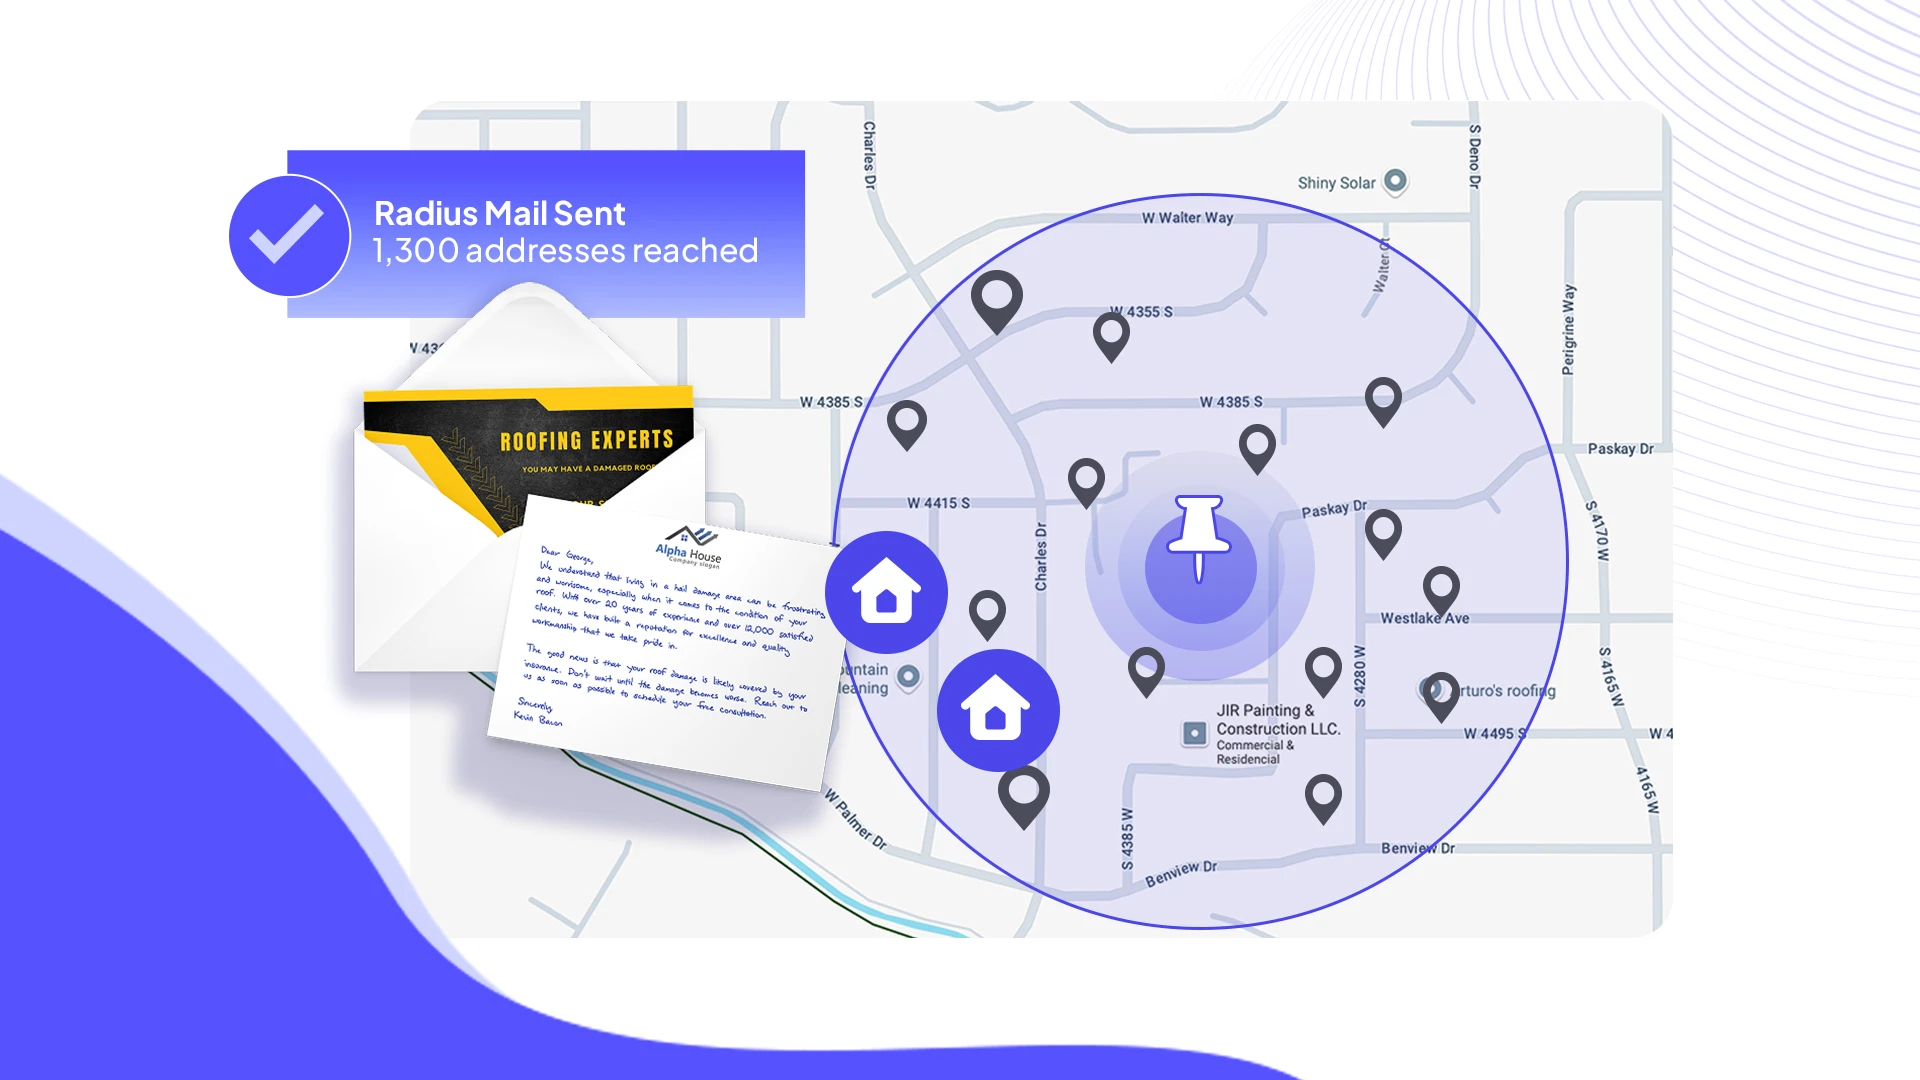
- Target by map area (radius or custom polygon)
- Filter by mover type (owner or renter) and property type (single-family or multifamily)
- Control move-in timing with a lookback window
- Add multi-touch steps, such as a second send 4 weeks later
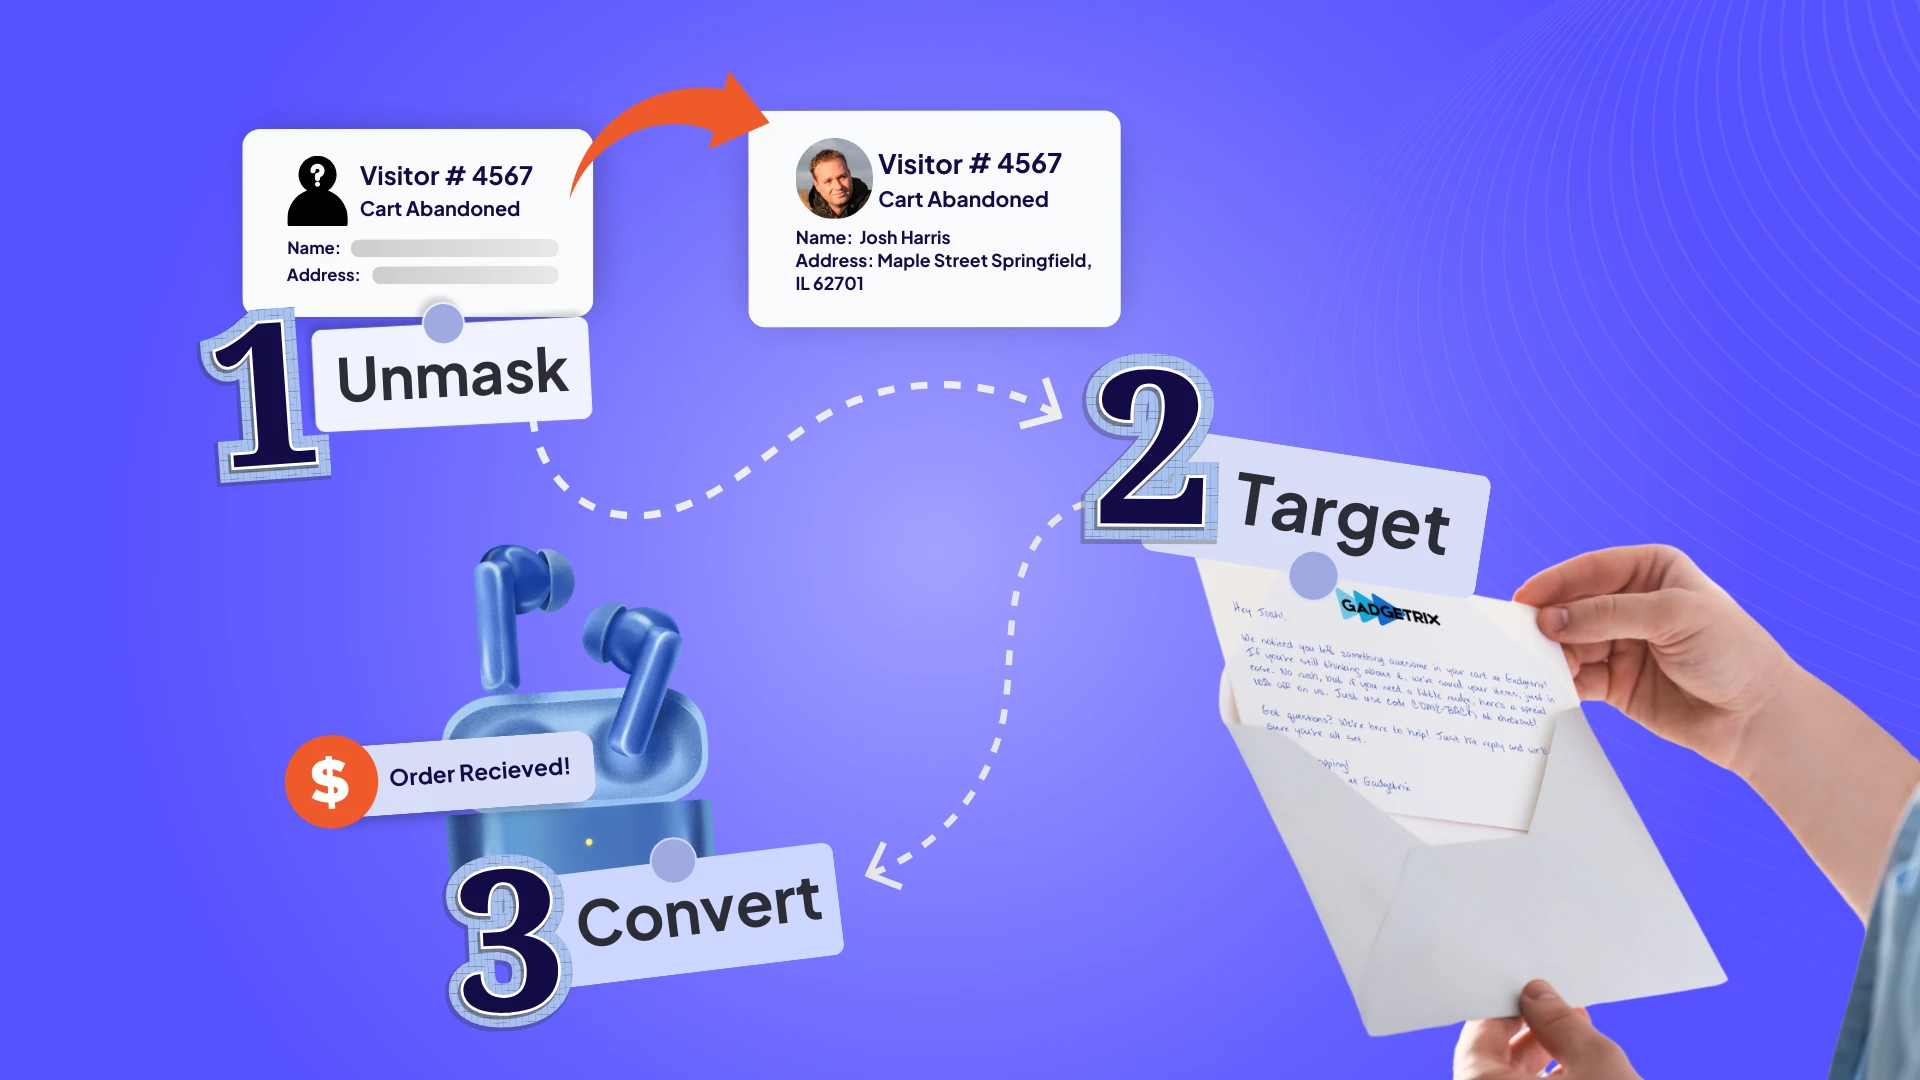
Why Mover Mail works
Right time. You reach households during a high-intent life event.
Always on. New movers flow in automatically.
Personal and local. Messages are tailored to your area and offer.
Measurable. Volumes and targets are calculated before you enable.
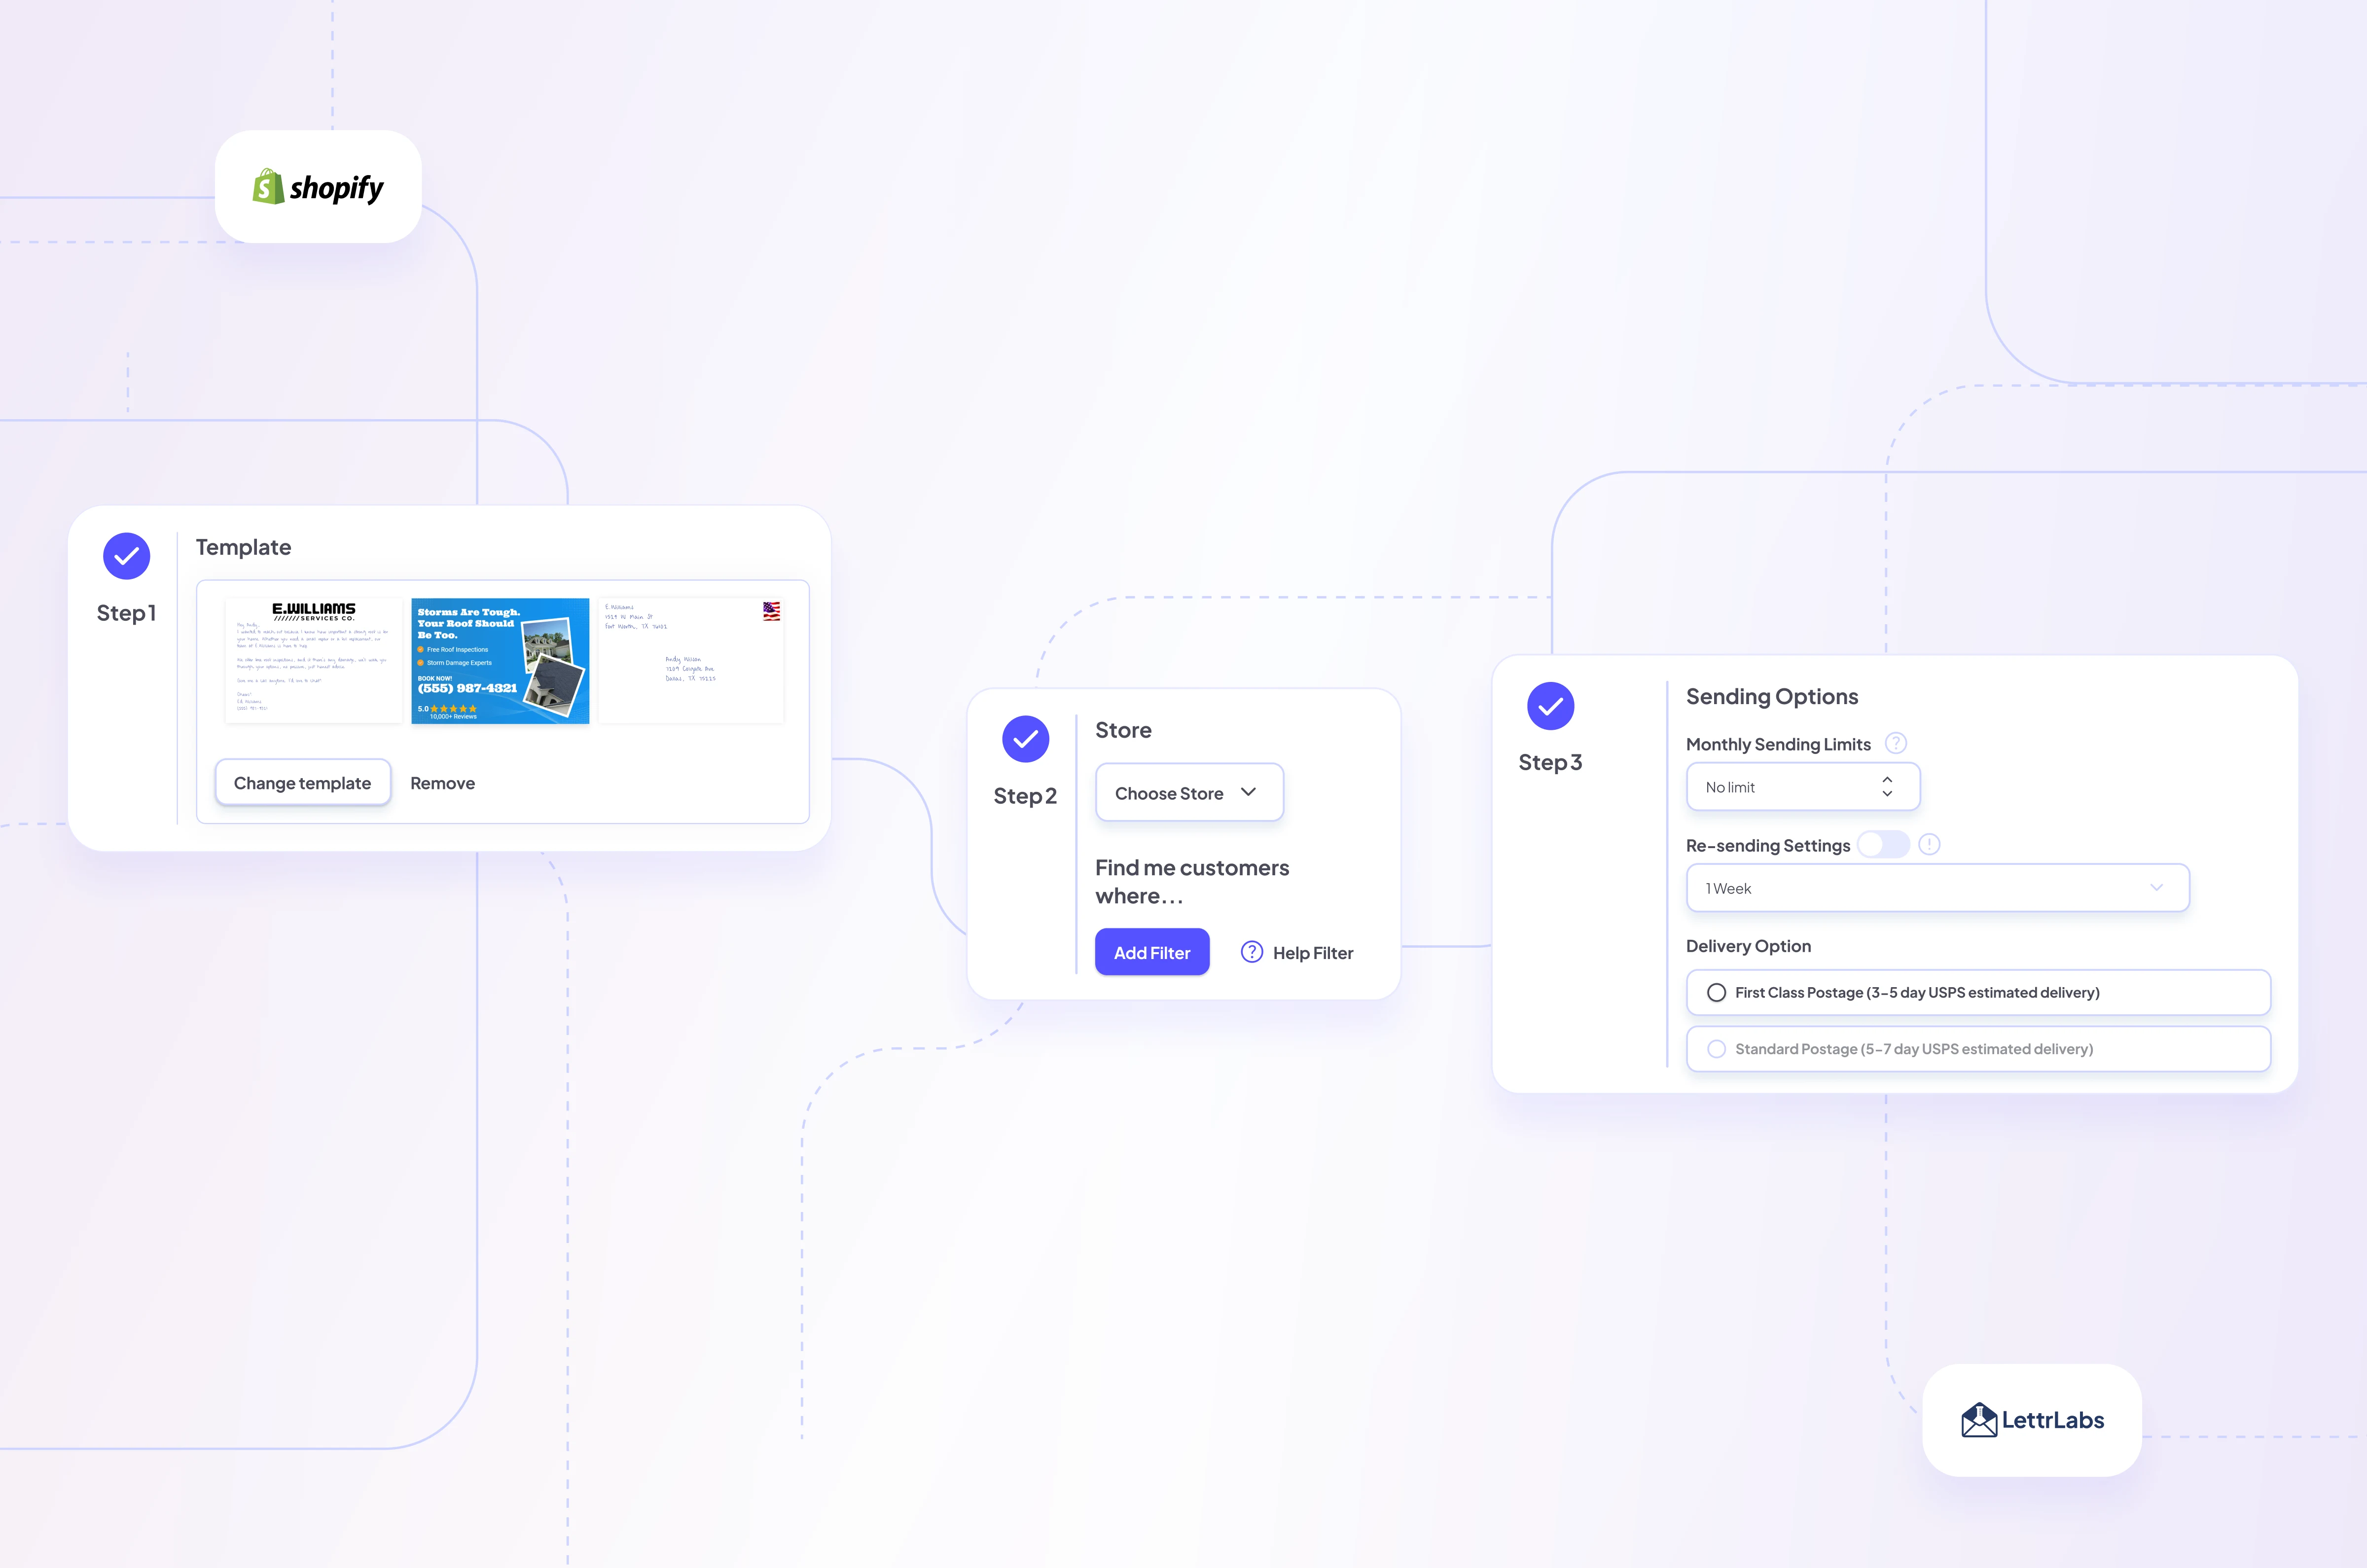
How Mover Mail works
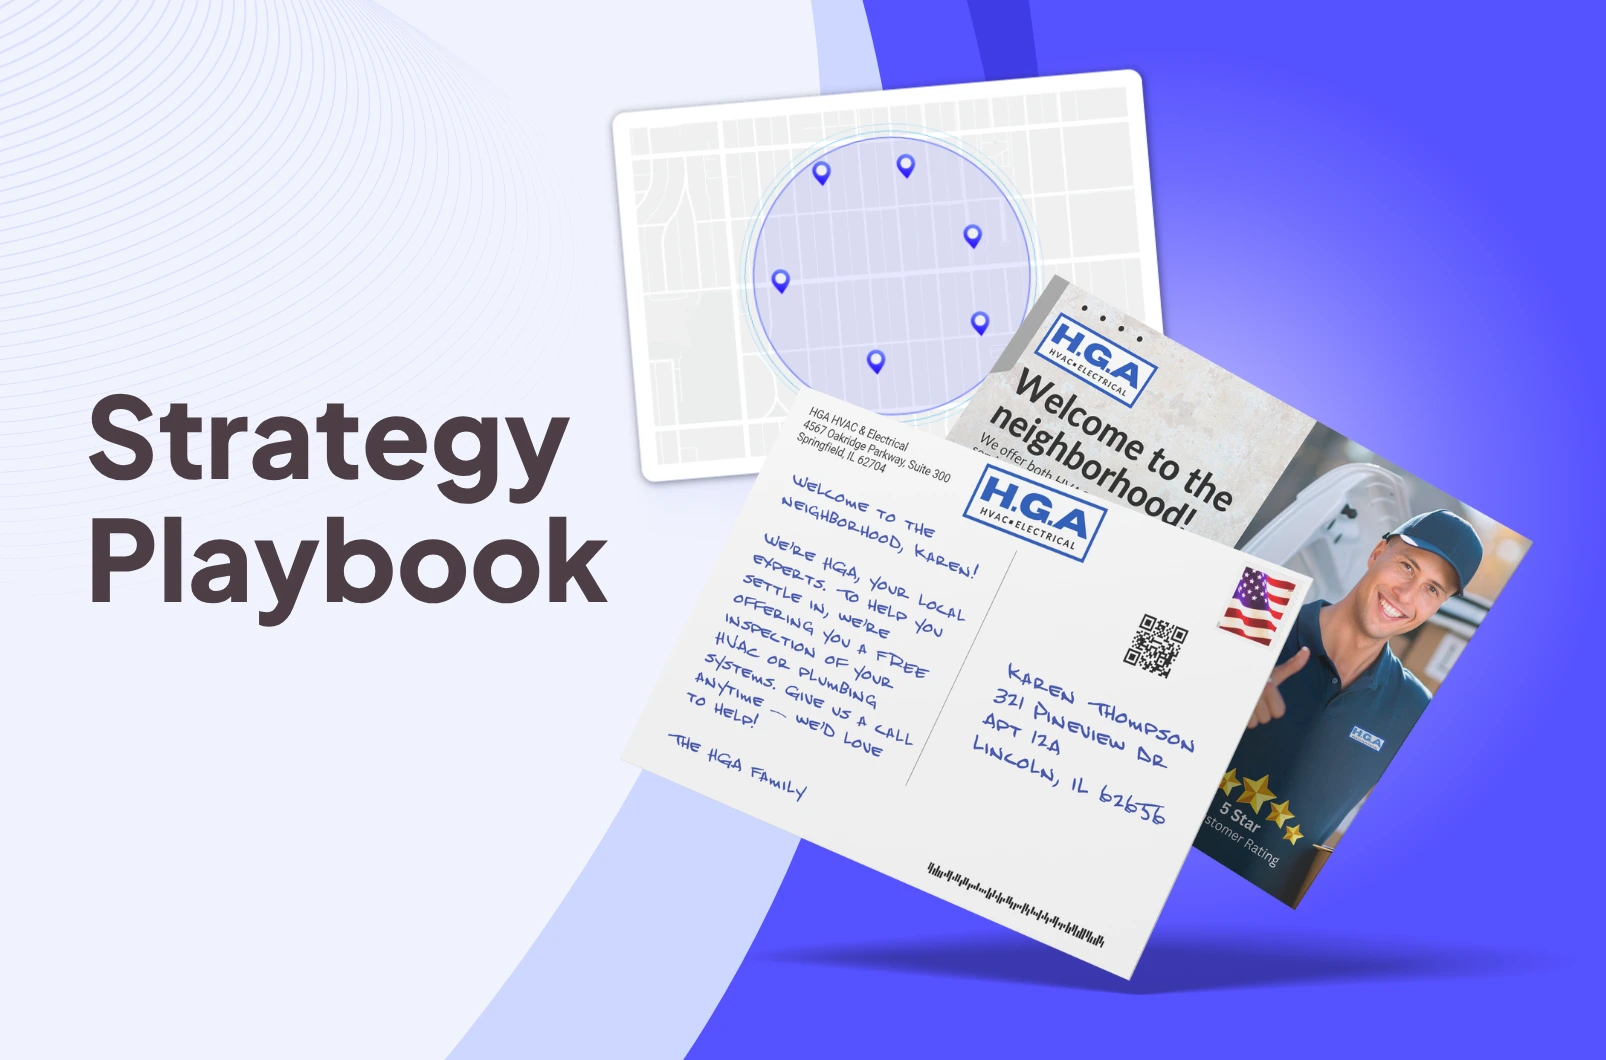
- You define the audience (mover type, property type, timing).
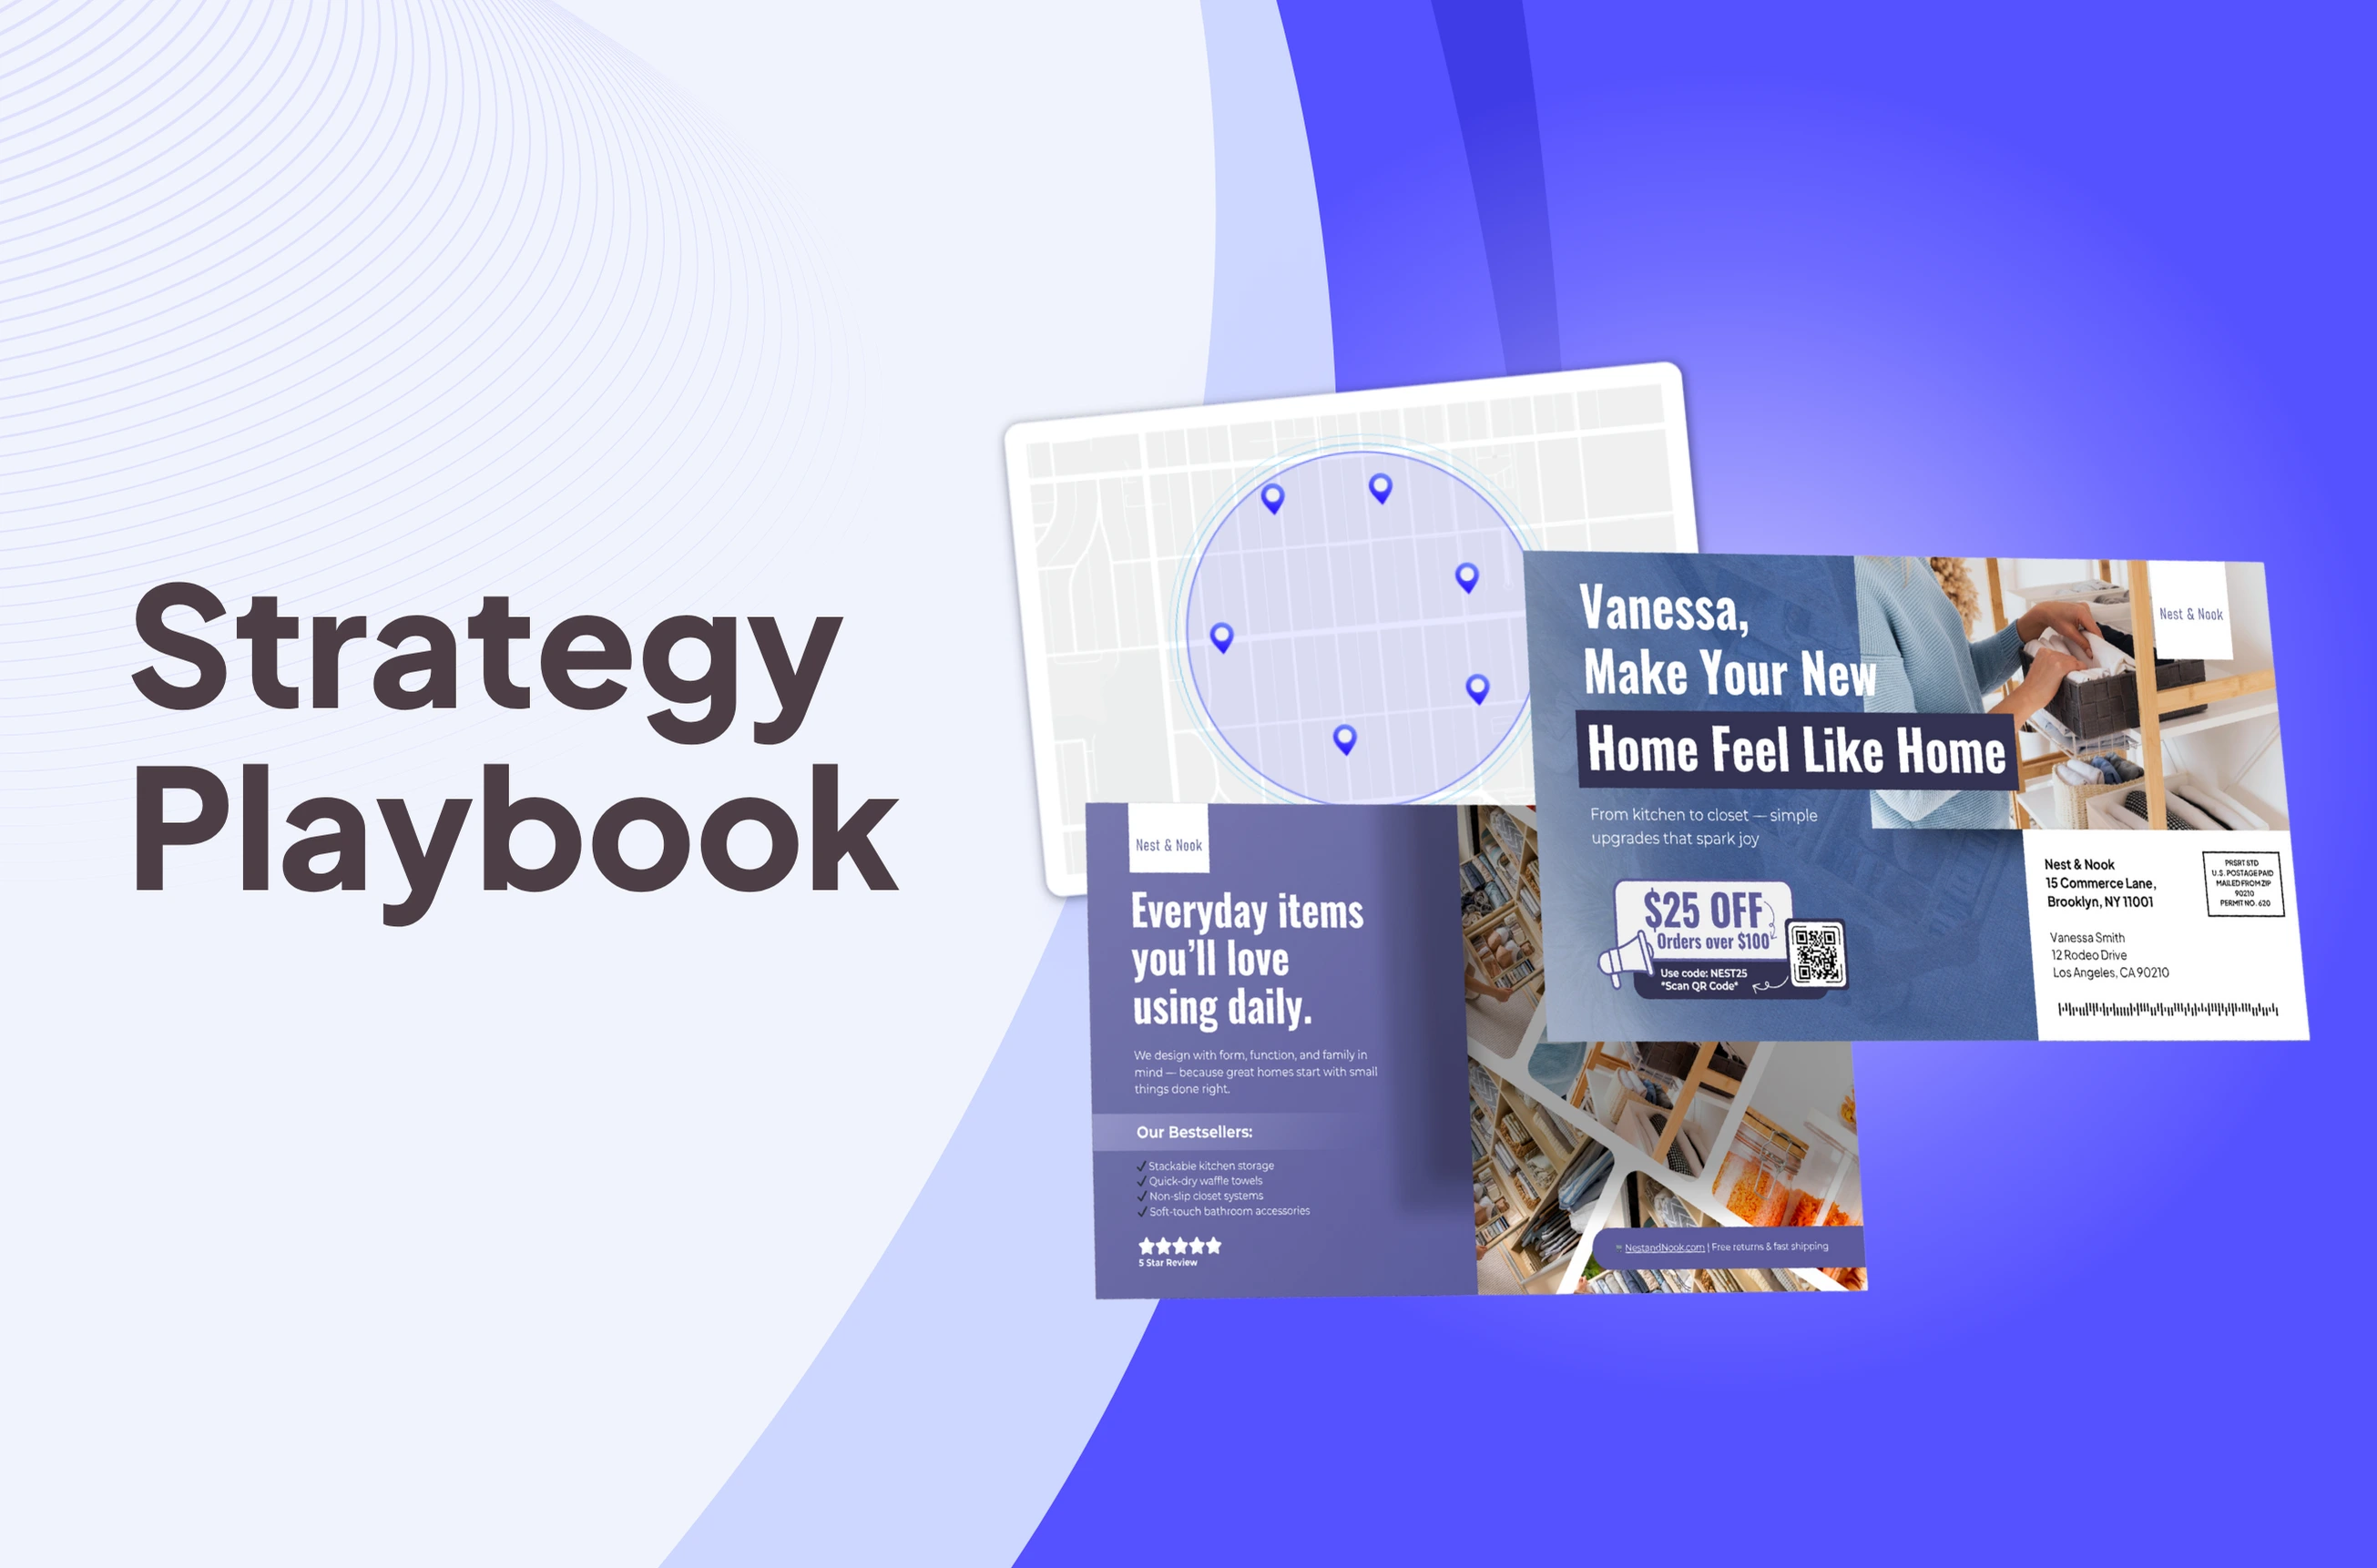
- You pick a service area on the map (radius or polygon).
- You select one or more mail templates and optional follow-up touches.
- You set an optional cap and calculate targets.
- You enable the automation. New movers matching your rules receive mail.
Step-by-Step: Setting Up Mover Mail
By the end of this quick setup, your Mover Mail automation will be live and running in the background.
🚀 Getting started
.webp)
Log in to LettrLabs and go to Automations. Click Create Automation and select Mover Mail.
Step 1: Name the automation
.webp)
Enter a clear, searchable name. Example: New Movers - Eastside - Welcome Offer.
Step 2: Select template(s)
.webp)
Choose the mail piece you want to send, such as a postcard or letter. You can select one template for a single touch or multiple templates if you plan to add a follow-up step later.
Step 3: Add an additional touch (optional)
.webp)
Create a second step with a Delay (for example, 4 weeks) and choose a different template or offer for that follow-up.
Step 4: Define audience filters
.webp)
Set who qualifies for the automation:
- Mover Type: Owner and/or Renter
- Property Type: Single-family and/or Multifamily
- Move-in Timing:
- Start from today forward, or
- Add a Lookback Period (for example, 30 days) to include recent movers
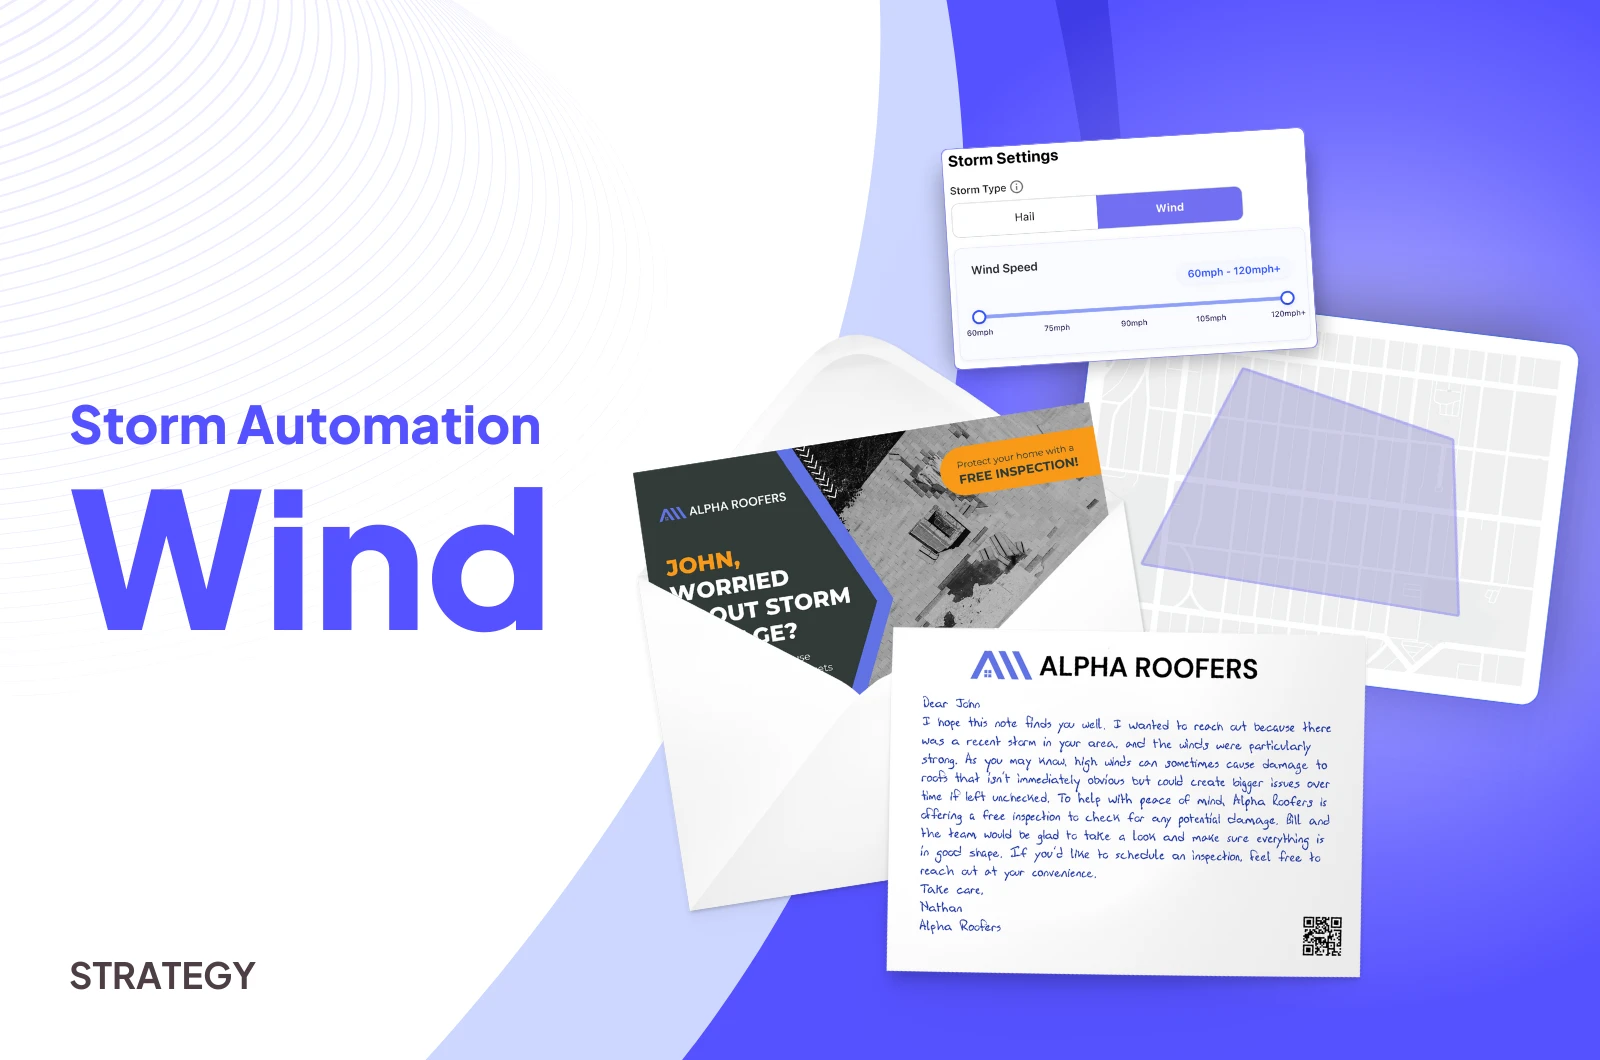
Step 5: Choose service area
.webp)
On the map, pick one targeting method:
- Radius around a point, or
- Polygon with custom boundaries
Step 6: Set a target cap (optional)
.webp)
Limit the maximum number of recipients for this automation. Example: 200 per month to control volume while testing.
Step 7: Calculate targets
Click Calculate Targets to see:
- Estimated lookback volume (one-time)
- Estimated monthly volume going forward
Step 8: Review and enable
Confirm your templates, audience filters, map area, and cap. Click Enable Automation. You will see a confirmation when the automation is live.
Field definitions (quick reference)
Lookback Period: Includes people who already moved within the last X days.
Mover Type: Homeowners and/or renters eligible for targeting.
Property Type: Single-family or multifamily residences.
Service Area: Geographic targeting chosen by radius or custom polygon.
Target Cap: Maximum sends allowed for this automation.
Calculate Targets: Previews estimated one-time lookback count and projected monthly volume.
Want help getting started?
Book a quick walkthrough with our team and we will set up your first Mover Mail automation together.


.png)


